Even more baby time!

I posted a few months ago about two babies quilts that I was working on, and a way to speed up the time it takes to set up the long-arm machine. Unfortunately, the binding still takes just as long so it’s taken awhile to get the projects finished. The quilts are finally complete, photographed and passed along to two very special babies!

Here are the front and back of the first quilt:

BabyQuilt1BabyQuilt1Back


I used Bottom Line thread in light blue for both quilts, following a pantograph pattern of swirls for the quilting. I thought this would soften the straight edges of the geometric patchwork patterns.

BabyQuilt1DetailBabyQuilt1Chair

Here are the front and back of the second quilt:

BabyQuilt2 BabyQuilt2Back

I bound both quilts with a striped fabric – I really like the effect around the edges!BabyQuiltChair2

Details of the front and back show the swirly quilting:

BabyQuilt2Detail BabyQuilt2BackDetail

I love making baby quilts! It’s a great opportunity to use bright colours and experiment with new ideas with a smaller quilt size!


Happy quilting!
Emily


Baby Time!

It’s been a while! I have been waiting all week to take pictures, but by the time I get home, the sun has gone down or it has been raining. Inside it is.

This quilt is for a friend who is having a girl at the end of November. My first baby-sized quilt, and I LOVE how quickly this sews together (once I got over the agony of colour, pattern and placement… but I think I have quilt commitment issues since the combinations always seem endless).

P1020416 (2)    P1020426

I have to give a significant amount of credit to Emily… I think I had about 4 of the patterned fabrics in my stash, and she let me root through hers to find the best baby ones. The fabric donation, combined with my haphazard style of purchasing fabric, means that unfortunately I have no idea what collections any of them come from. Except the toucans and jungle prints; those are  Birch Organics – Safari Soiree, and the sashing is all Kona solids.

   P1020444

Like the other quilts, this was quilted with cotton batting on the long-arm machine, this time using a paper pantograph design. I chose little people outlines, … which I also forgot to write down the name of. Scatterbrain much? Both top and bottom are quilted with Bottom Line – Superior Threads. We have been having a couple tension issues with the machine, and find that there are fewer problems with this thinner thread. I do love the King Tut thread colours too, so just have to work out the kinks.

P1020436   P1020437

The backing is a flannel bought from Fabricland. To make the binding a little sturdier for longtime baby use, I sewed it on the back first, then machine-stitched it to the front instead of hand stitching, and it turned out pretty well.

P1020431

In taking pictures, I accidentally got this black and white shot, which surprised me to see the quilt just by the colour value. You can see that the pink, blue, and green sashing are the same.

Well, one last look for me, and then wrap up the quilt so it gets there before the baby!

– Stéphanie

For the love of lumberjacks.

Made for a friend whose wardrobe has a definite slant towards flannel plaid, I wanted to represent the blend of colours to give some cozy comfort without actually using plaid. I drew up a pattern, making sure it was big enough so that I wouldn’t have to deal with itty bitty pieces. As it is, the yellow strip is only 1″ wide.

DSCN1061     DSCN1037

I used different fabrics, trying to match how the colours change when they overlap in a plaid pattern. The most difficult to find was where blue overlaps with yellow; I did not want to end up using a green, and was fortunate enough to find fabric that seemed to maintain distinct blue and yellow. I wanted a little bit of the back to show in the front, so chose the red as a binding (spoiler!).

DSCN1042    DSCN1065

It was quilted free-hand, attempting to emulate a wood-grain pattern. Sometimes they look more like waves, but for a first-time free-hand quilter, I’m not complaining. I was also listening to music and dancing while quilting so that probably contributed to the… waviness.

DSCN1047    DSCN1045In the big white squares between the plaid, I wanted something simple to keep the attention on the plaid. So I chose to do straight vertical and horizontal lines for three of them.

DSCN1041

And a surprise for the fourth! Can you tell what it is?

DSCN1039

You can see it better from the back….

DSCN1052    Surprise!

I wanted to make the back interesting, if not reversible. The moose is appliquéd on. It was the first thing quilted, and we had to be a little creative in how to roll the quilt onto the long-arm once that part was done. The rest of the back was quilted in a light grey so the wood-grain is a lot more obvious.

DSCN1056 DSCN1054

Hopefully next time there will be some in-progress photos, but for now just bear with my excess of finished pictures. I suppose once I have made a lot more quilts, I will be more blasé about it, but for now I am pleased as punch.

There have been mumblings of turning my scratched out plans into a real pattern in case anyone was interested, but that will be a while coming.

Thanks for reading!

Stéphanie

Lesson #3: The dangers of post-secondary education.

At 13, I made my first quilt. Simple squares, bold colours, bug-shaped variegated quilting. It covered my bed successfully for 4 years without incident; warm, cozy, …and undamaged.

First Quilt

And so it came along when I went away to university. Kept me warm in my very cold and drafty apartment. I took to studying in bed, wrapped up in this bright reminder of home and free time. Wrapped up, cozy warm, with study notes in one hand and a bright orange highlighter in the other. So cozy that I frequently fell asleep among the sprawl of academia and cotton and uncapped highlighter.

First Quilt front      Quilt back

It turns out that orange highlighter is surprisingly difficult to get out of the quilt. Fortunately the colours are so busy that it takes a little while to spot the …spots. (There are at least 4 stains).

Spot 3  Spot 4  Spot 1  Spot 2

I would like to say I conquered the urge to fall asleep without a writing instrument in hand but unfortunately I have to admit to a brief phase with a green liquid ink pen. On the plus side, I now always know which sheets are mine.

-Stéphanie

Du haut de ses 11 ans

Je vous présente une courte-pointe que mon fils a faite l’été passé. Il n’avait que 11 ans quand il a accompli ce beau projet. Il a pris le patron “All About Me” et ma soeur Suzanne l’a modifié un peu pour lui. Il a choisi des tissus qui représentaient ses intérêts: sports, musique, nourriture… Suzanne lui a montré comment couper le tissu, le coudre ensemble, et piquer la courte-pointe. Il a tout fait tout seul!!! Comme il est perfectionniste, tout a été fait avec minutie. Nous sommes tellement fiers de lui et du travail qu’il a fait! Nous saluons aussi le courage qu’il a de faire une activité peu commune pour un garçon. Il a même eu la chance de la montrer à nul autre que Kaffe Fassett!
Vous remarquerez qu’il a mis des tissus représentant le fil, une machine à coudre, et évidemment les Canadiens de Montréal! L’arrière est fait d’un tissu éclatant plein de balles de tennis.
IMG_0100 IMG_0096
IMG_5782

Pour les fans de hockey

J’ai pensé m’essayer à faire une entrée à ce blog… J’ai finalement fini une courte-pointe sur laquelle je travaillais depuis très (trop!) longtemps pour mon fils.  C’est un fan fini de hockey, et surtout des Canadiens de Montréal.  J’avais acheté plusieurs tissus de hockey au Vermont Quilt Festival car il voulait une courte-pointe de sport et de hockey.  Et puis, j’ai trouvé un panneau représentant une patinoire sur l’InterNet!  Cela ne pouvait pas être plus parfait, il fallait que je l’incorpore dans mon projet.  Puisque le panneau était déjà assez grand pour couvrir une bonne partie d’une courte-pointe pour un lit simple, j’ai décidé de faire le tour assez simple, avec des bordures de différentes largeurs, toutes dans le thème bleu-blanc-rouge et hockey.  A l’arrière, j’ai mis des carrés de plusieurs différents tissus de hockey.  J’ai eu un petit pépin quand j’ai piqué la courte-pointe par contre.  Puisque je piquais des bandes, j’ai commencé à piquer les bandes à l’extérieur du projet, quand j’aurais dû commencer à piquer le centre et à progresser vers les bords du projet.  Le résultat est qu’à l’arrière, il y a plusieurs plis dans le tissu.  Le milieu est piqué avec du fil blanc qui brille dans le noir, à la demande de mon fils.
Il était tellement content quand il a vu la courte-pointe sur son lit en revenant de l’école le jour de sa fête!

Natalie

IMG_8062 IMG_8064 IMG_8059

It Sold!!

I am so excited.

I just found out that the baby quilt that I made for the church exhibition and sale sold! Someone really liked what I made. Some child somewhere will be wrapped in the quilt that I put together. It seems hard to believe but how awesome is that!!

I better get back to my sewing. I am not quitting my day job yet!

Michele

Baby Quilts

After Emily’s quilt for the Michael Miller challenge, I have but a small token to offer to the blog

When our church put on a garden show / baby quilt show and sale / afternoon tea in the beginning of July, I was excited.  I was not able to be there on that particular weekend but I could make a quilt. Suzanne very generously provided the fabric and the pattern “Friendship Quilt”. It was a very quick quilt to make. And of course, it meant that I got to practice on the long-arm machine again.

P1020344

I do not have a name for this quilt, but going forward I will name them. This quilt seems lonely without a name

I used a kite pantograph to quilt it all together.

P1020349 P1020350

These are last minute pictures I took just before I gave it away to our church. I usually like to have things completed well ahead of time, but when it comes to quilting, can anyone get their quilt made in time to take good photographs?

Check out the binding. I was so lucky to find this striped fabric. P1020340

I had much fun creating this quilt. I have offered it to our church to be either sold or given to a mom in need. I hope that some child enjoys it as much as I had fun making it.

Happy Quilting this Summer!

Michèle


Michael Miller Challenge

The Modern Quilt Guild organized a quilt challenge with Michael Miller fabrics. You are allowed to make anything as long as it’s quilted and made with other Michael Miller fabrics or solids. I received six fat eighths for the challenge, and bought some coordinating prints to add.

Starting fabrics

Starting fabrics

The smaller pieces in the photo are the challenge pieces. The pattern of the orange and grey fabrics remind me of the cathedral window pattern, so I thought I would start by making those squares and build on it from there.

I made a 4 x 4 piece of the folded squares stitched together. I fussy cut the fabric to make  floral pattern expanding from the centre. I put a white fabric behind each coloured piece because the grey showed through a bit.

Added some extra fabric

Added some extra fabric

I ended out trimming the corners partly because I thought it would look better in a diamond orientation and partly because I was tired of hand stitching the edges. I was excited to see what it would look like with extra fabric so I sewed the grey print to set the cathedral window pattern in the centre before I finished the hand stitching.

There are two layers of cotton batting. To account for the extra thickness in the middle, I cut out the centre of a first layer of batting.

Detail of adding the batting to even out thickness.

Detail of adding the batting to even out thickness.

I used 50 wt grey Aurifil thread to quilt the outline of the centre shape repeating outwards. I hand quilted in the backgrounds of the cathedral windows with orange, yellow, green and blue perle cotton thread. The binding was made with solid grey and the grey print provided for the challenge. The finished size is about 22 x 22 inches.

Finished product

Finished product

Detail of quilting

Detail of quilting

My original plan included sewing circles into outside piece of fabric or into a border. After I changed the design,  I didn’t want to waste the circular pieces so I appliqued them to the back.

The back embellished with applique circles.

The back embellished with applique circles.


Overall, the challenge was a lot of fun! The cathedral window pattern was very time consuming, so I can’t imagine making a bed-sized quilt. It was a mad rush trying to finish it this week, but I’m happy with the finished product.

Wish me luck!
Emily

So many WIPs, so little time!

Looking at our post history, I have become painfully aware that the last post was over a month ago! I’ve had so many projects on the go, that I haven’t had anything significant to write about. The other Quiltuplets also have stories they are eager to share, including my sister who has two posts planned.  She left for the Great Northern Canoe Expedition at the end of June, so her posts will be available in August when she gets back.

A quick aside – Stéphanie has embarked on an incredible canoe adventure. She and five others are in the Northwest Territories and are canoeing from Yellowknife to Baker Lake in Nunavut, via the Thelon river (or Thelong river as Stéphanie calls it). We receive daily updates about their location through a SPOT device, so I have made a map and have been following the progress on their 50+ day journey. I am sure she will have great stories to tell, and maybe even inspiration for some quilts!

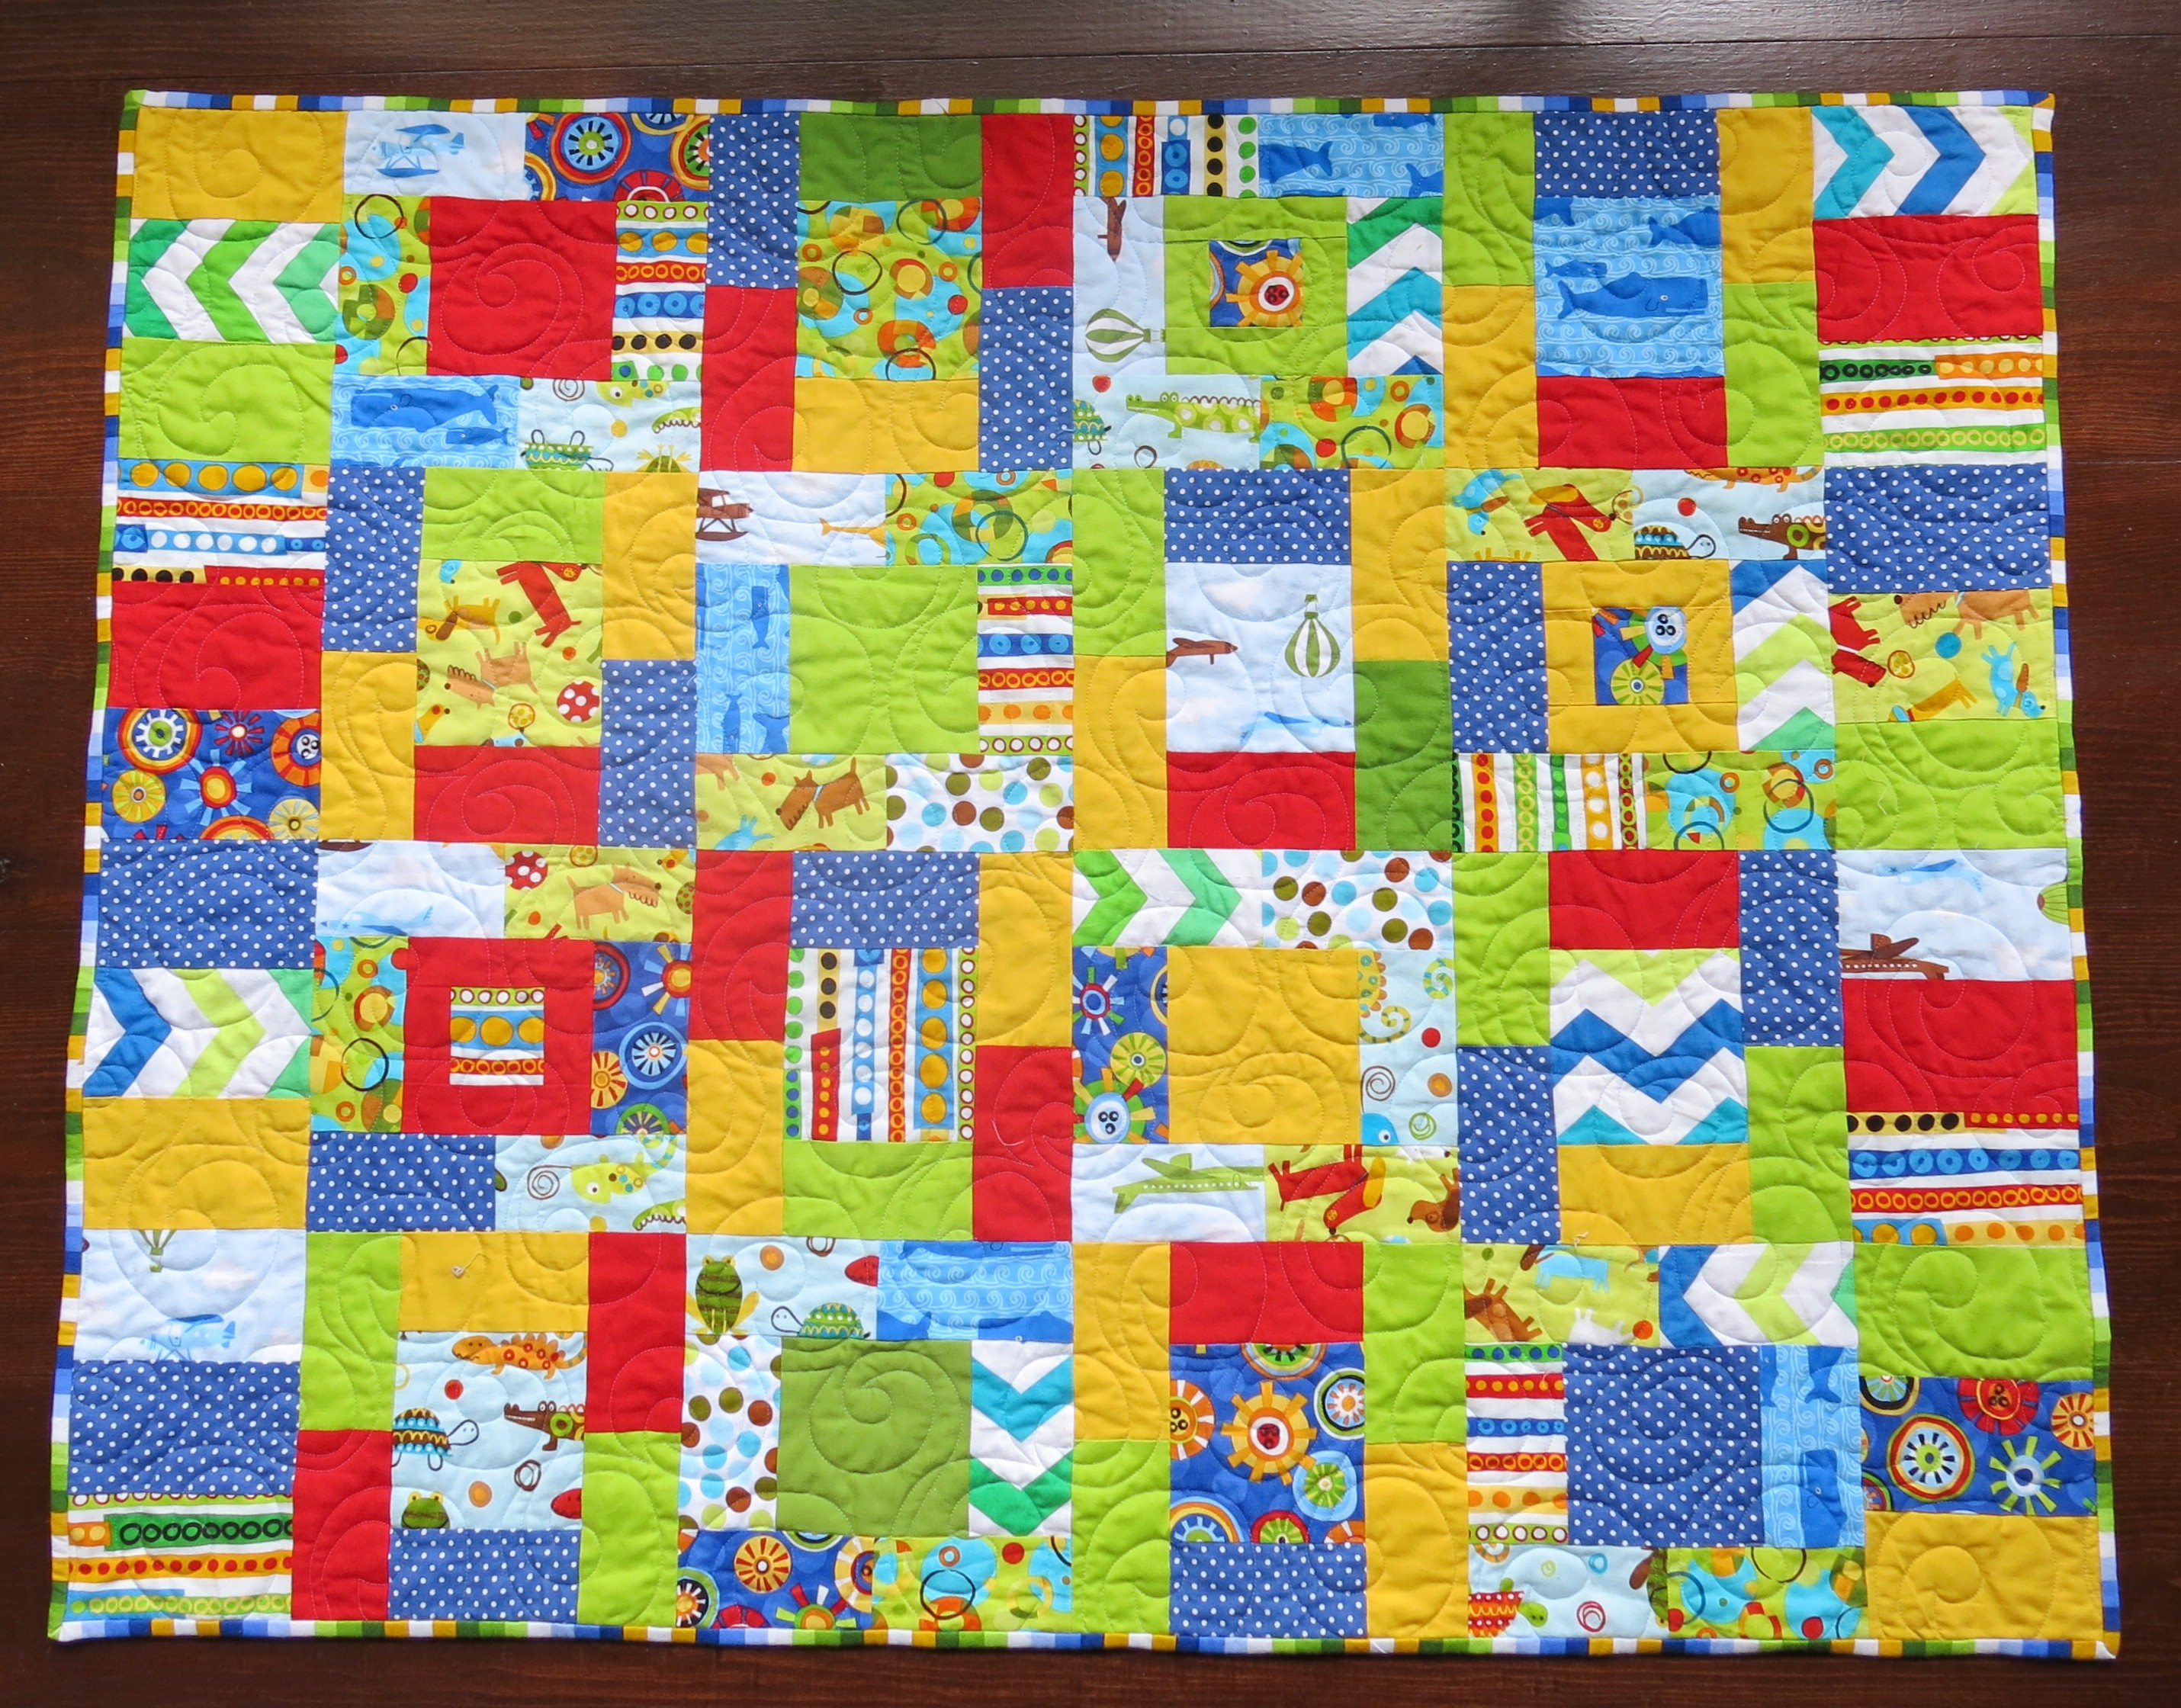
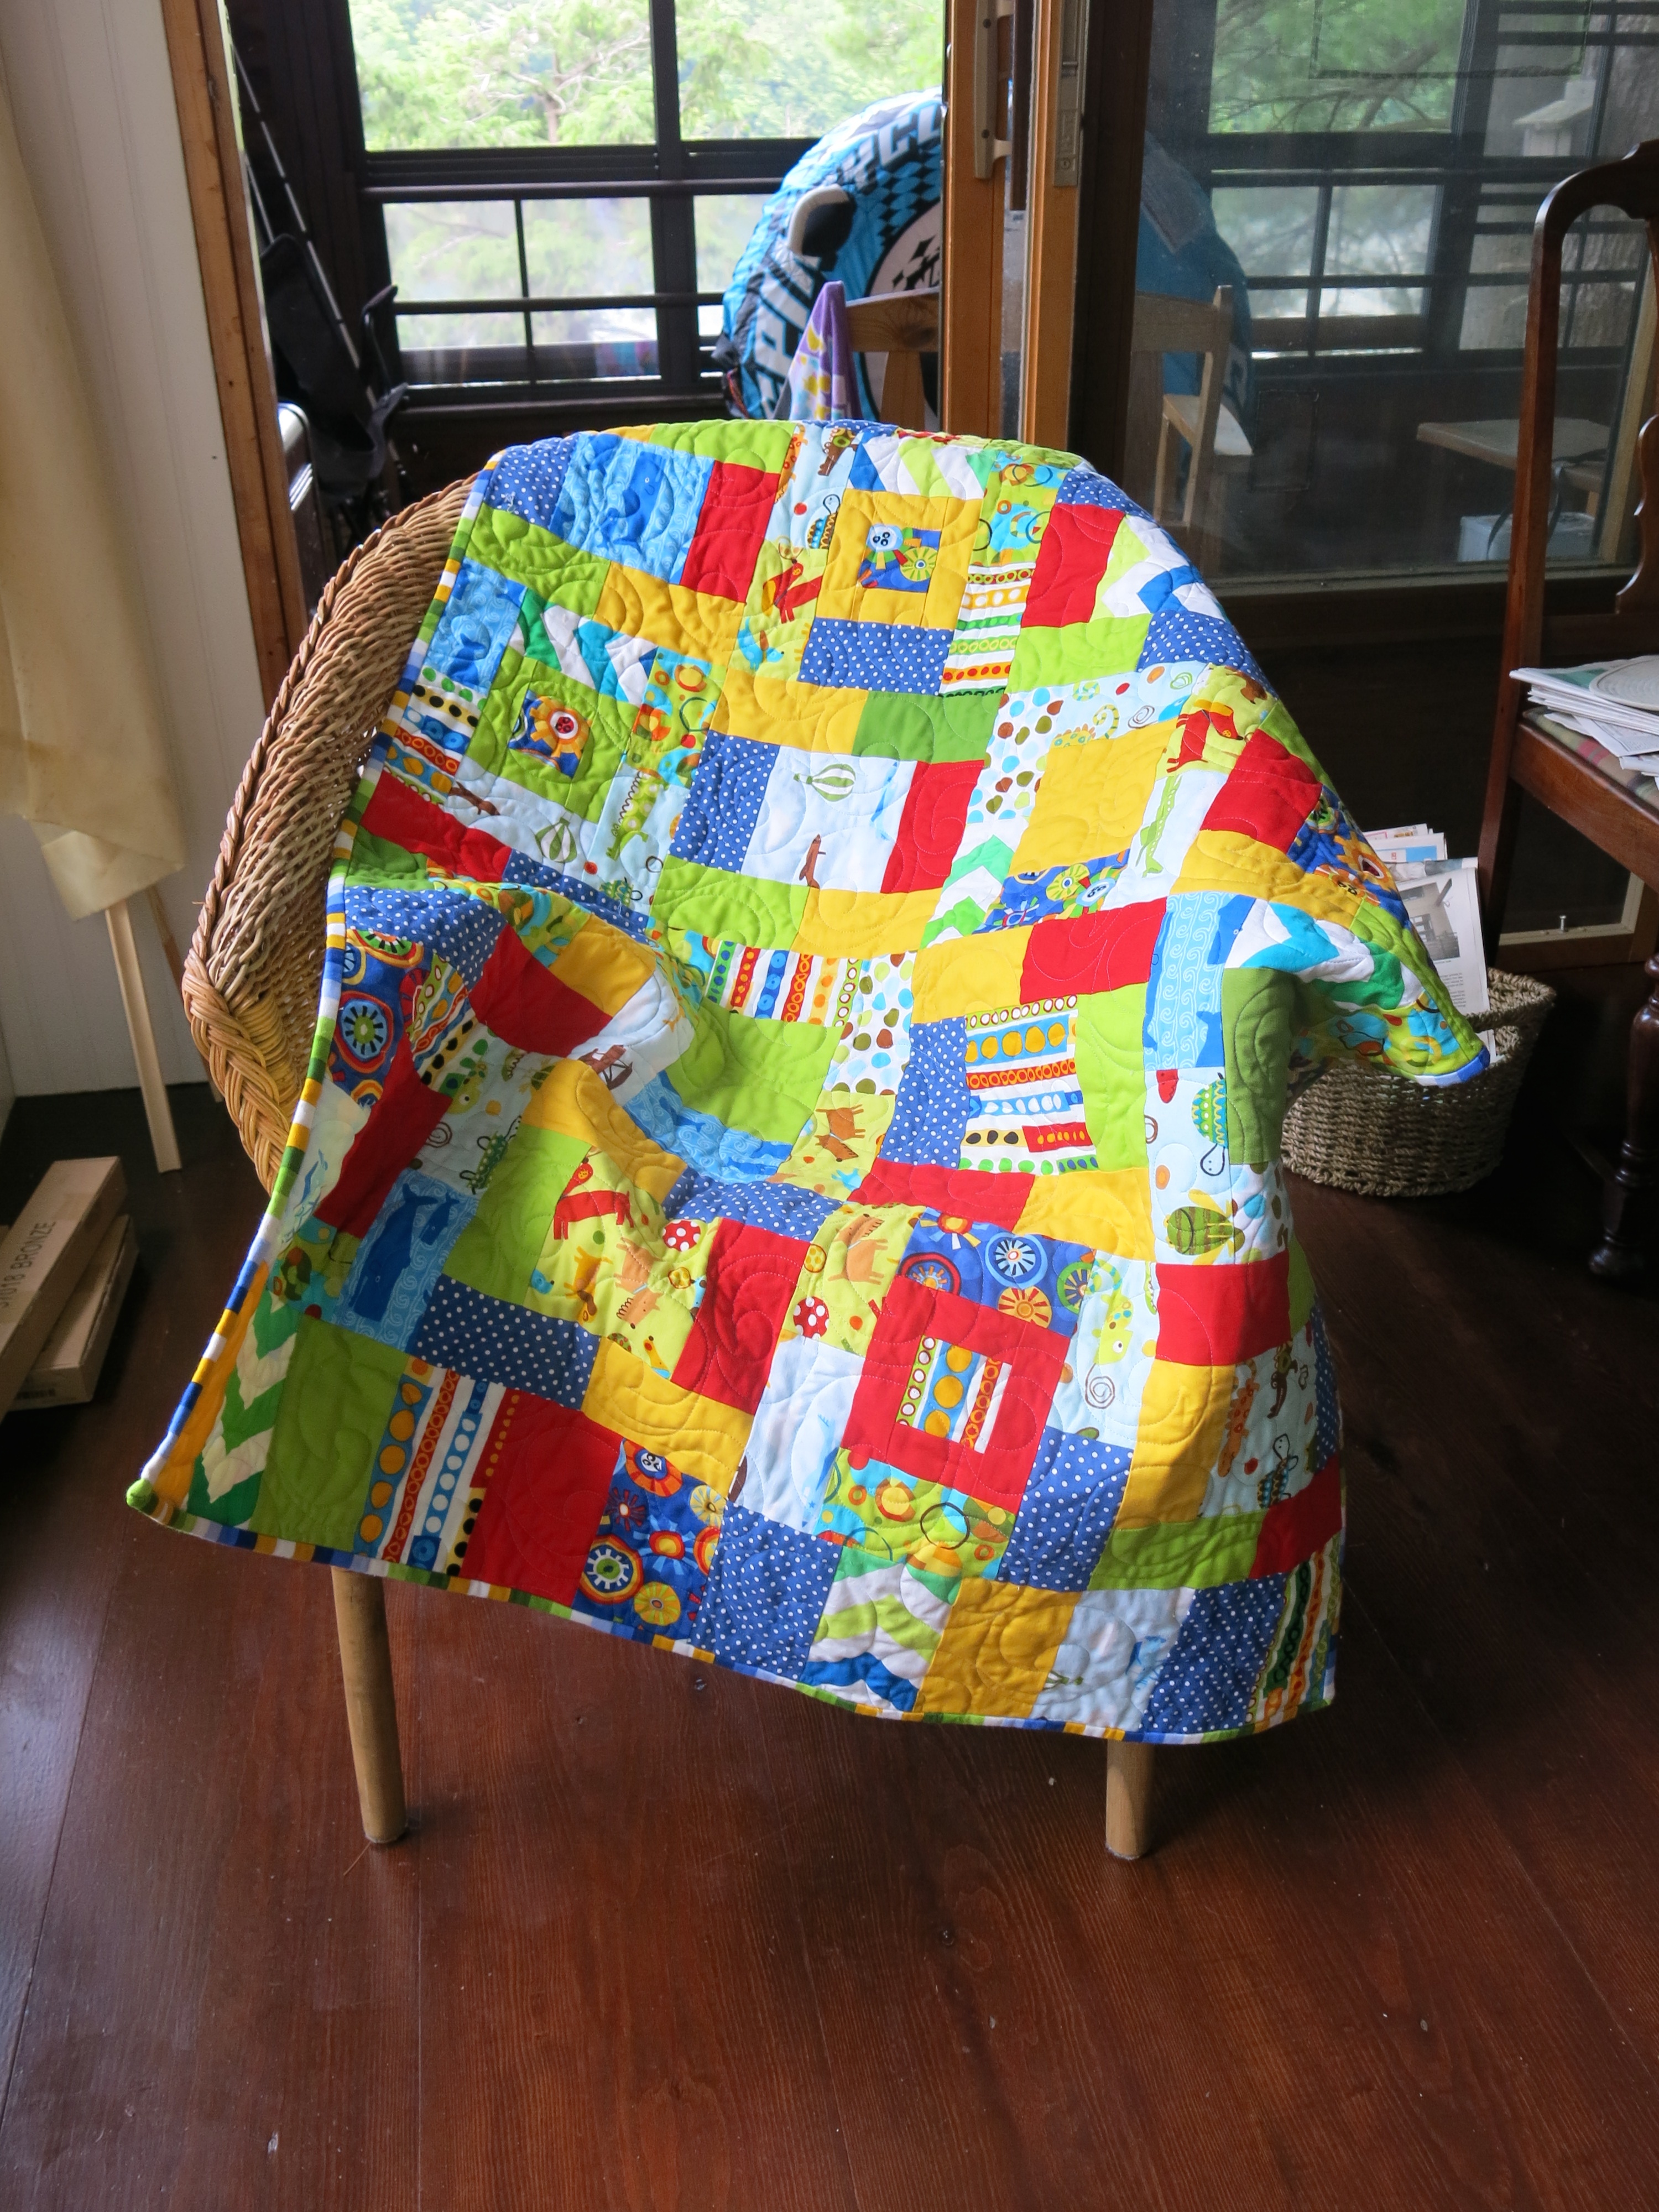
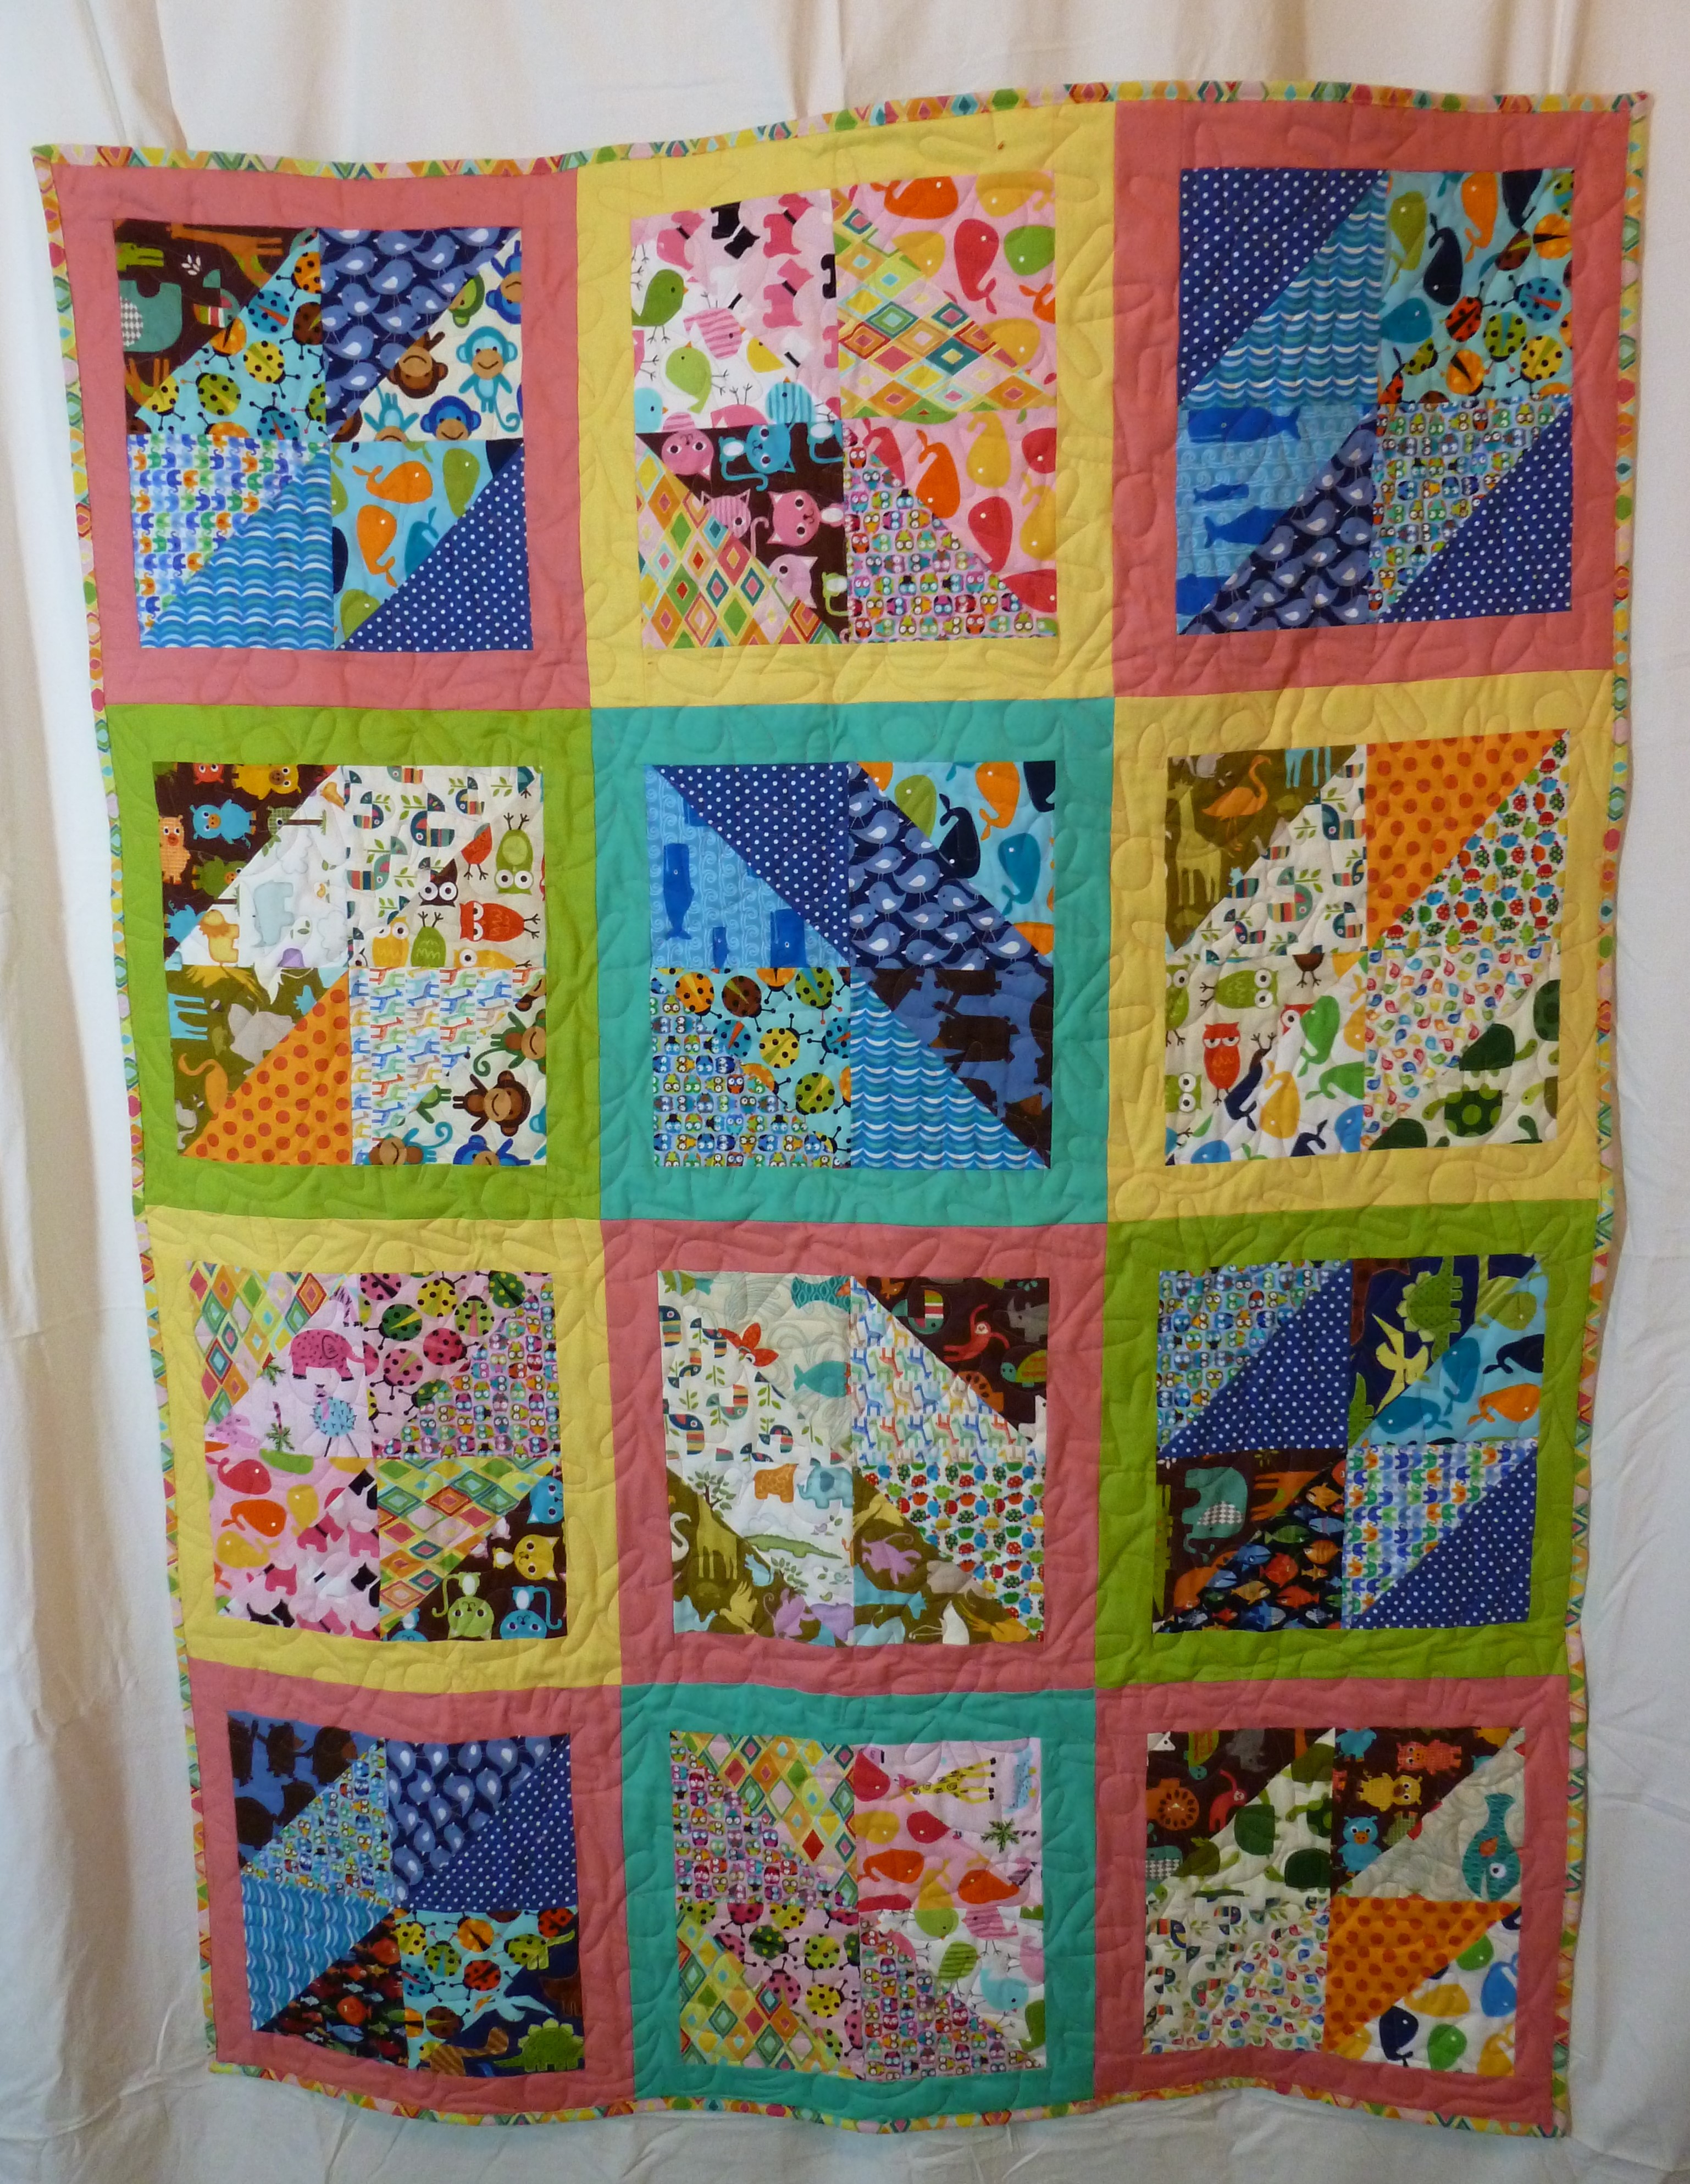
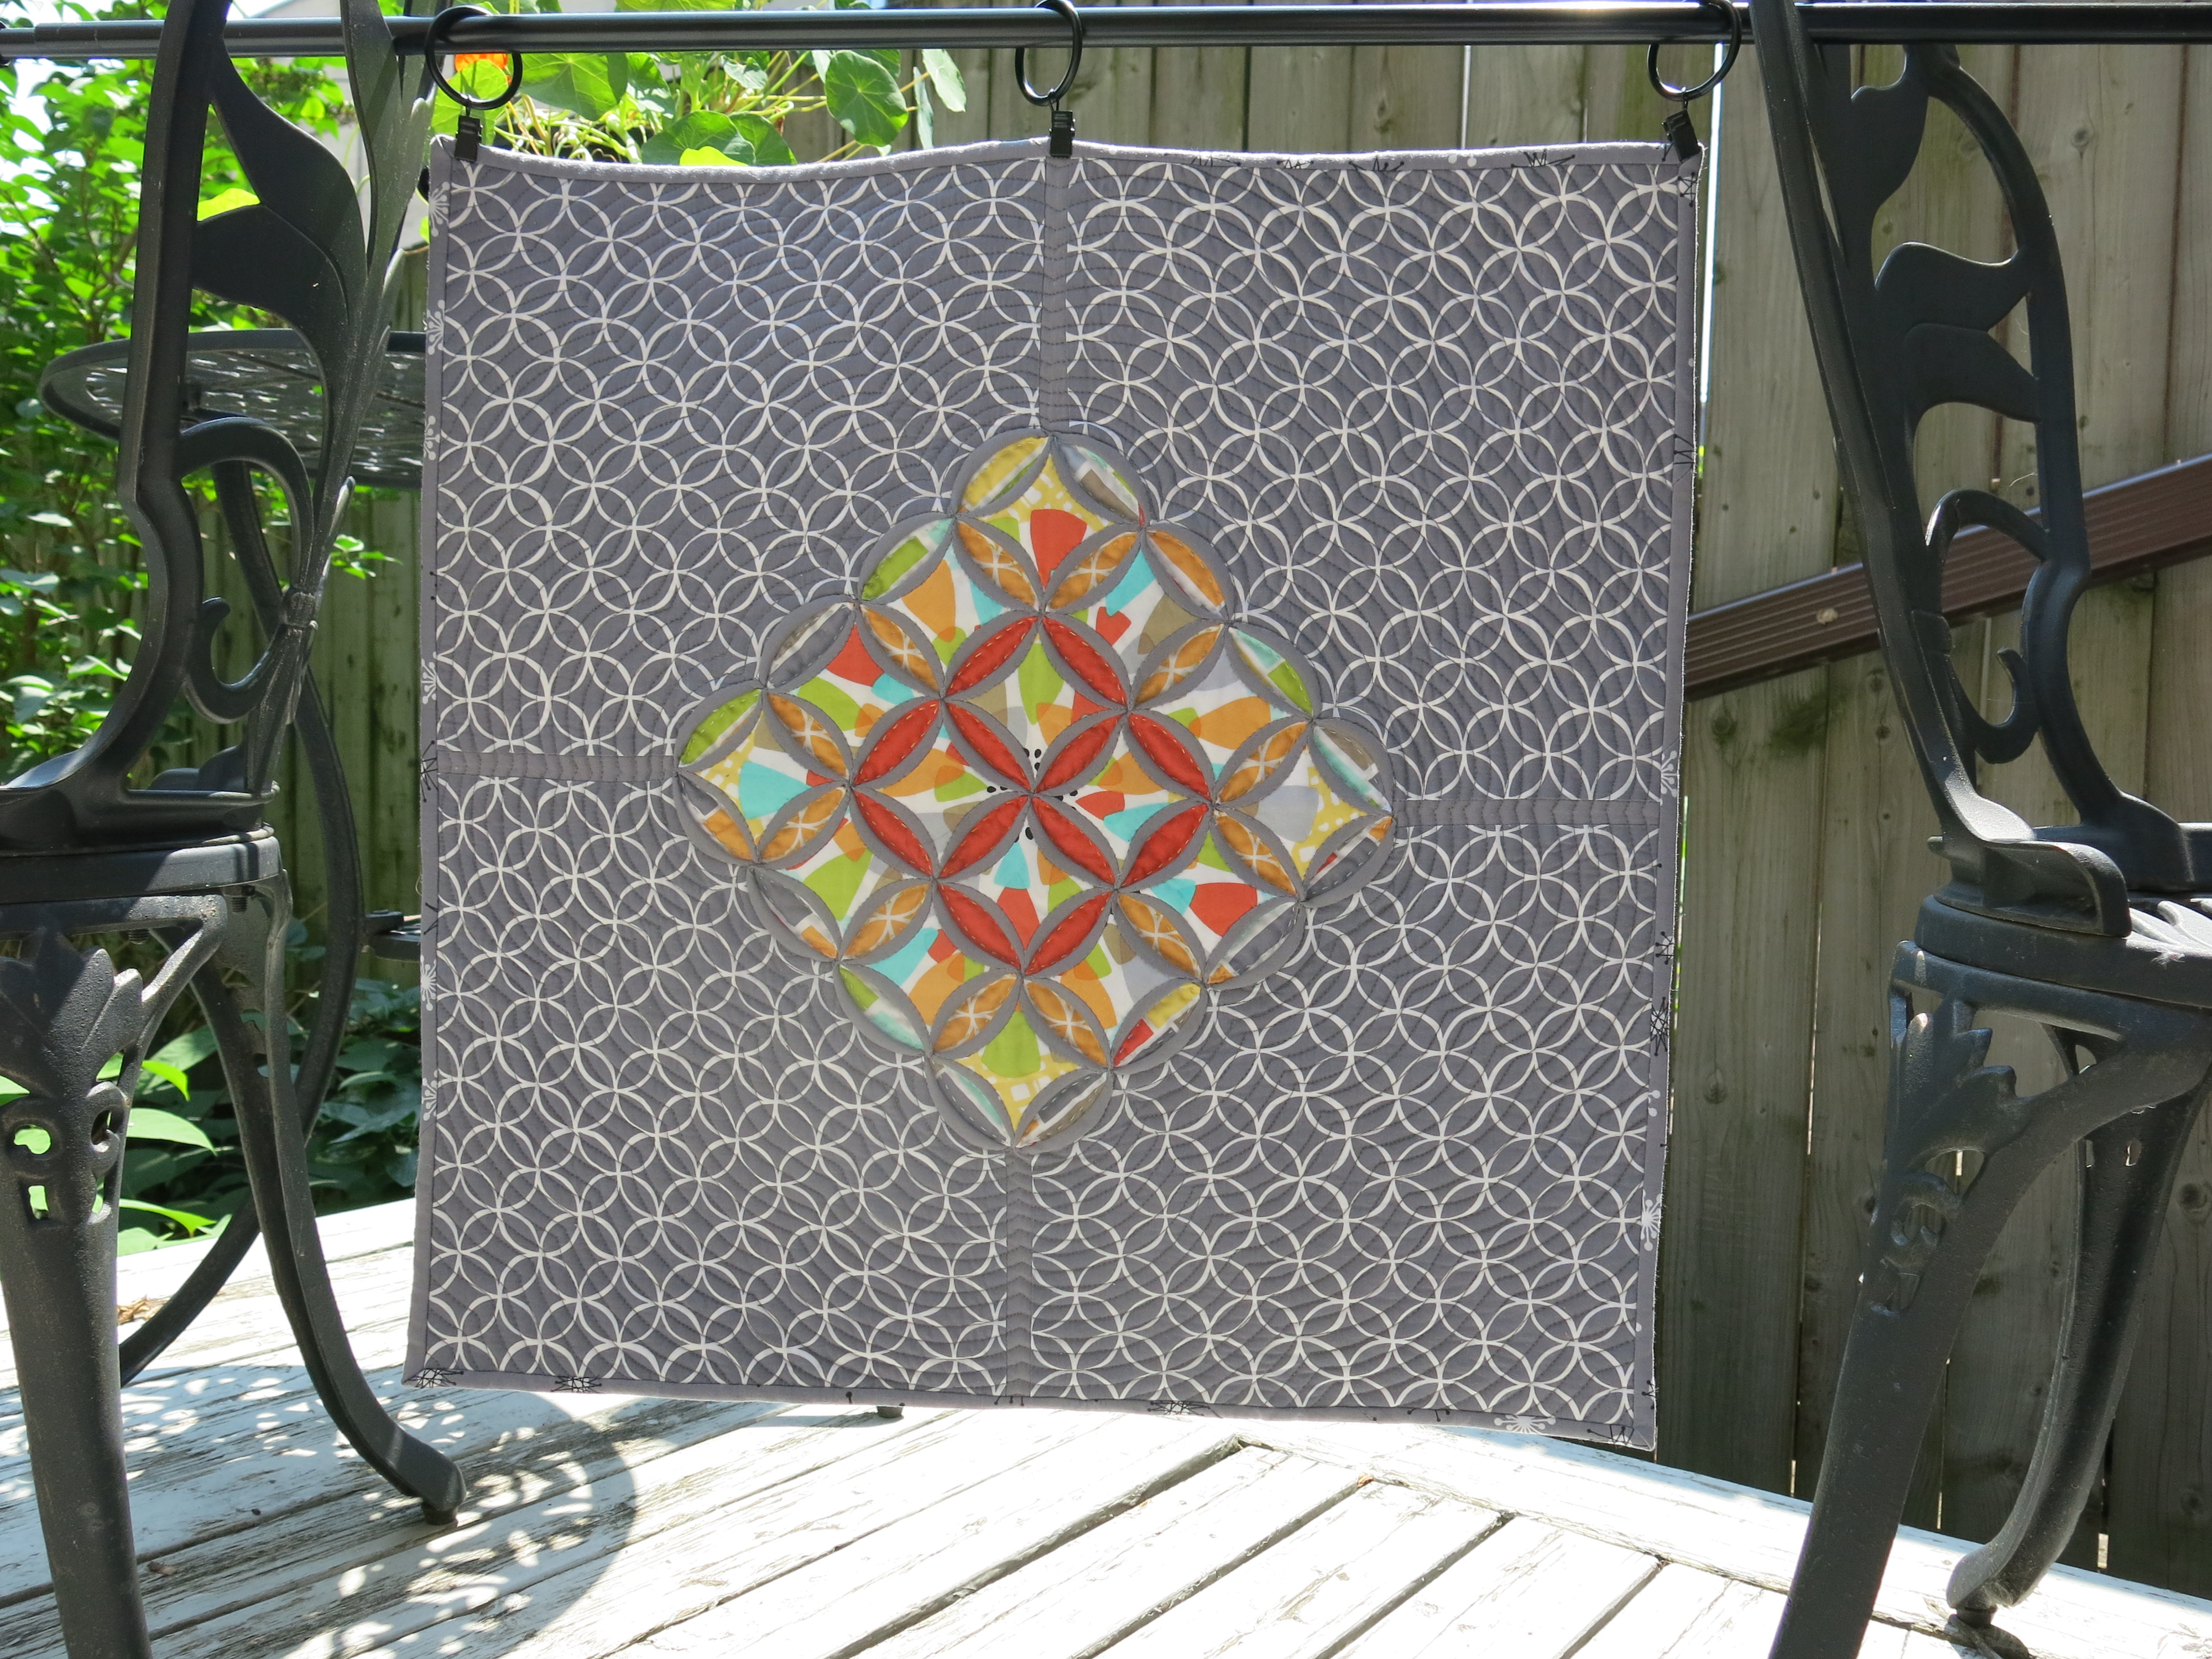
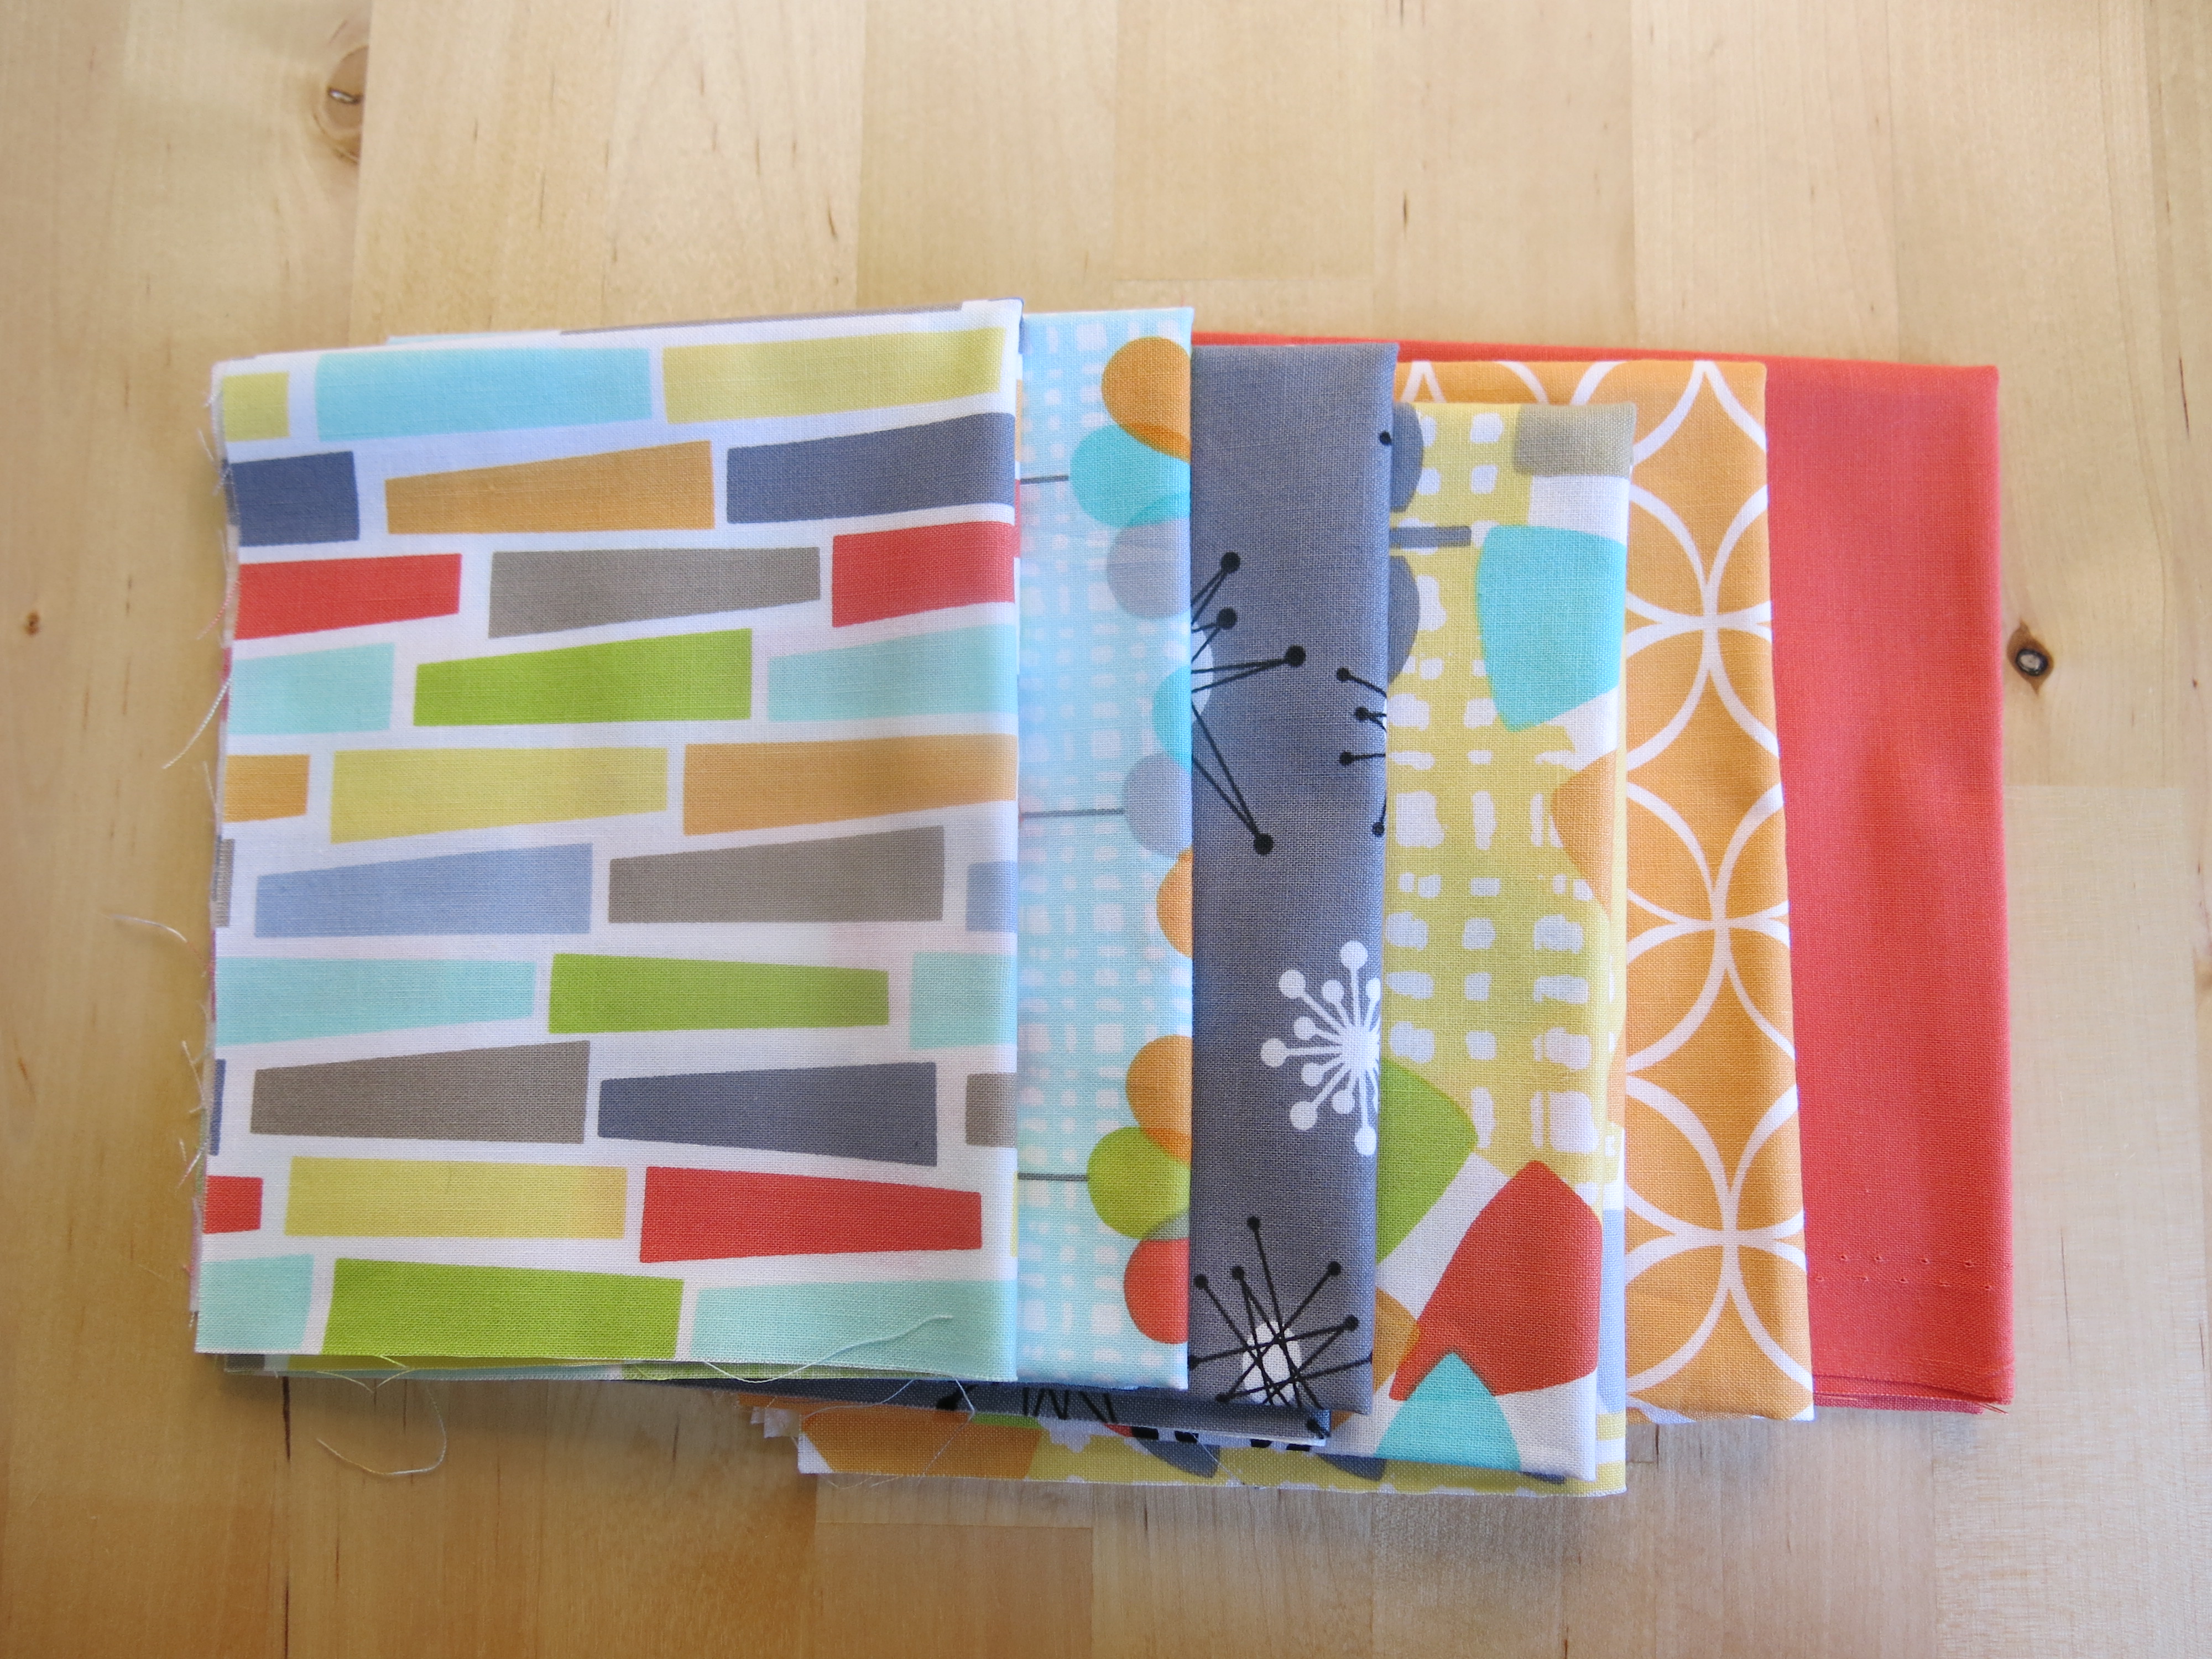
So, what have I been up to? As a member of the Modern Quilt Guild, I have been working on the Michael Miller Challenge.

Michael Miller Challenge fabrics

Michael Miller Challenge fabrics

The idea is to make anything quilted, using these fabrics and any other Michael Miller or solid fabric. I am almost finished my entry, and I will post photos at the end of the week!

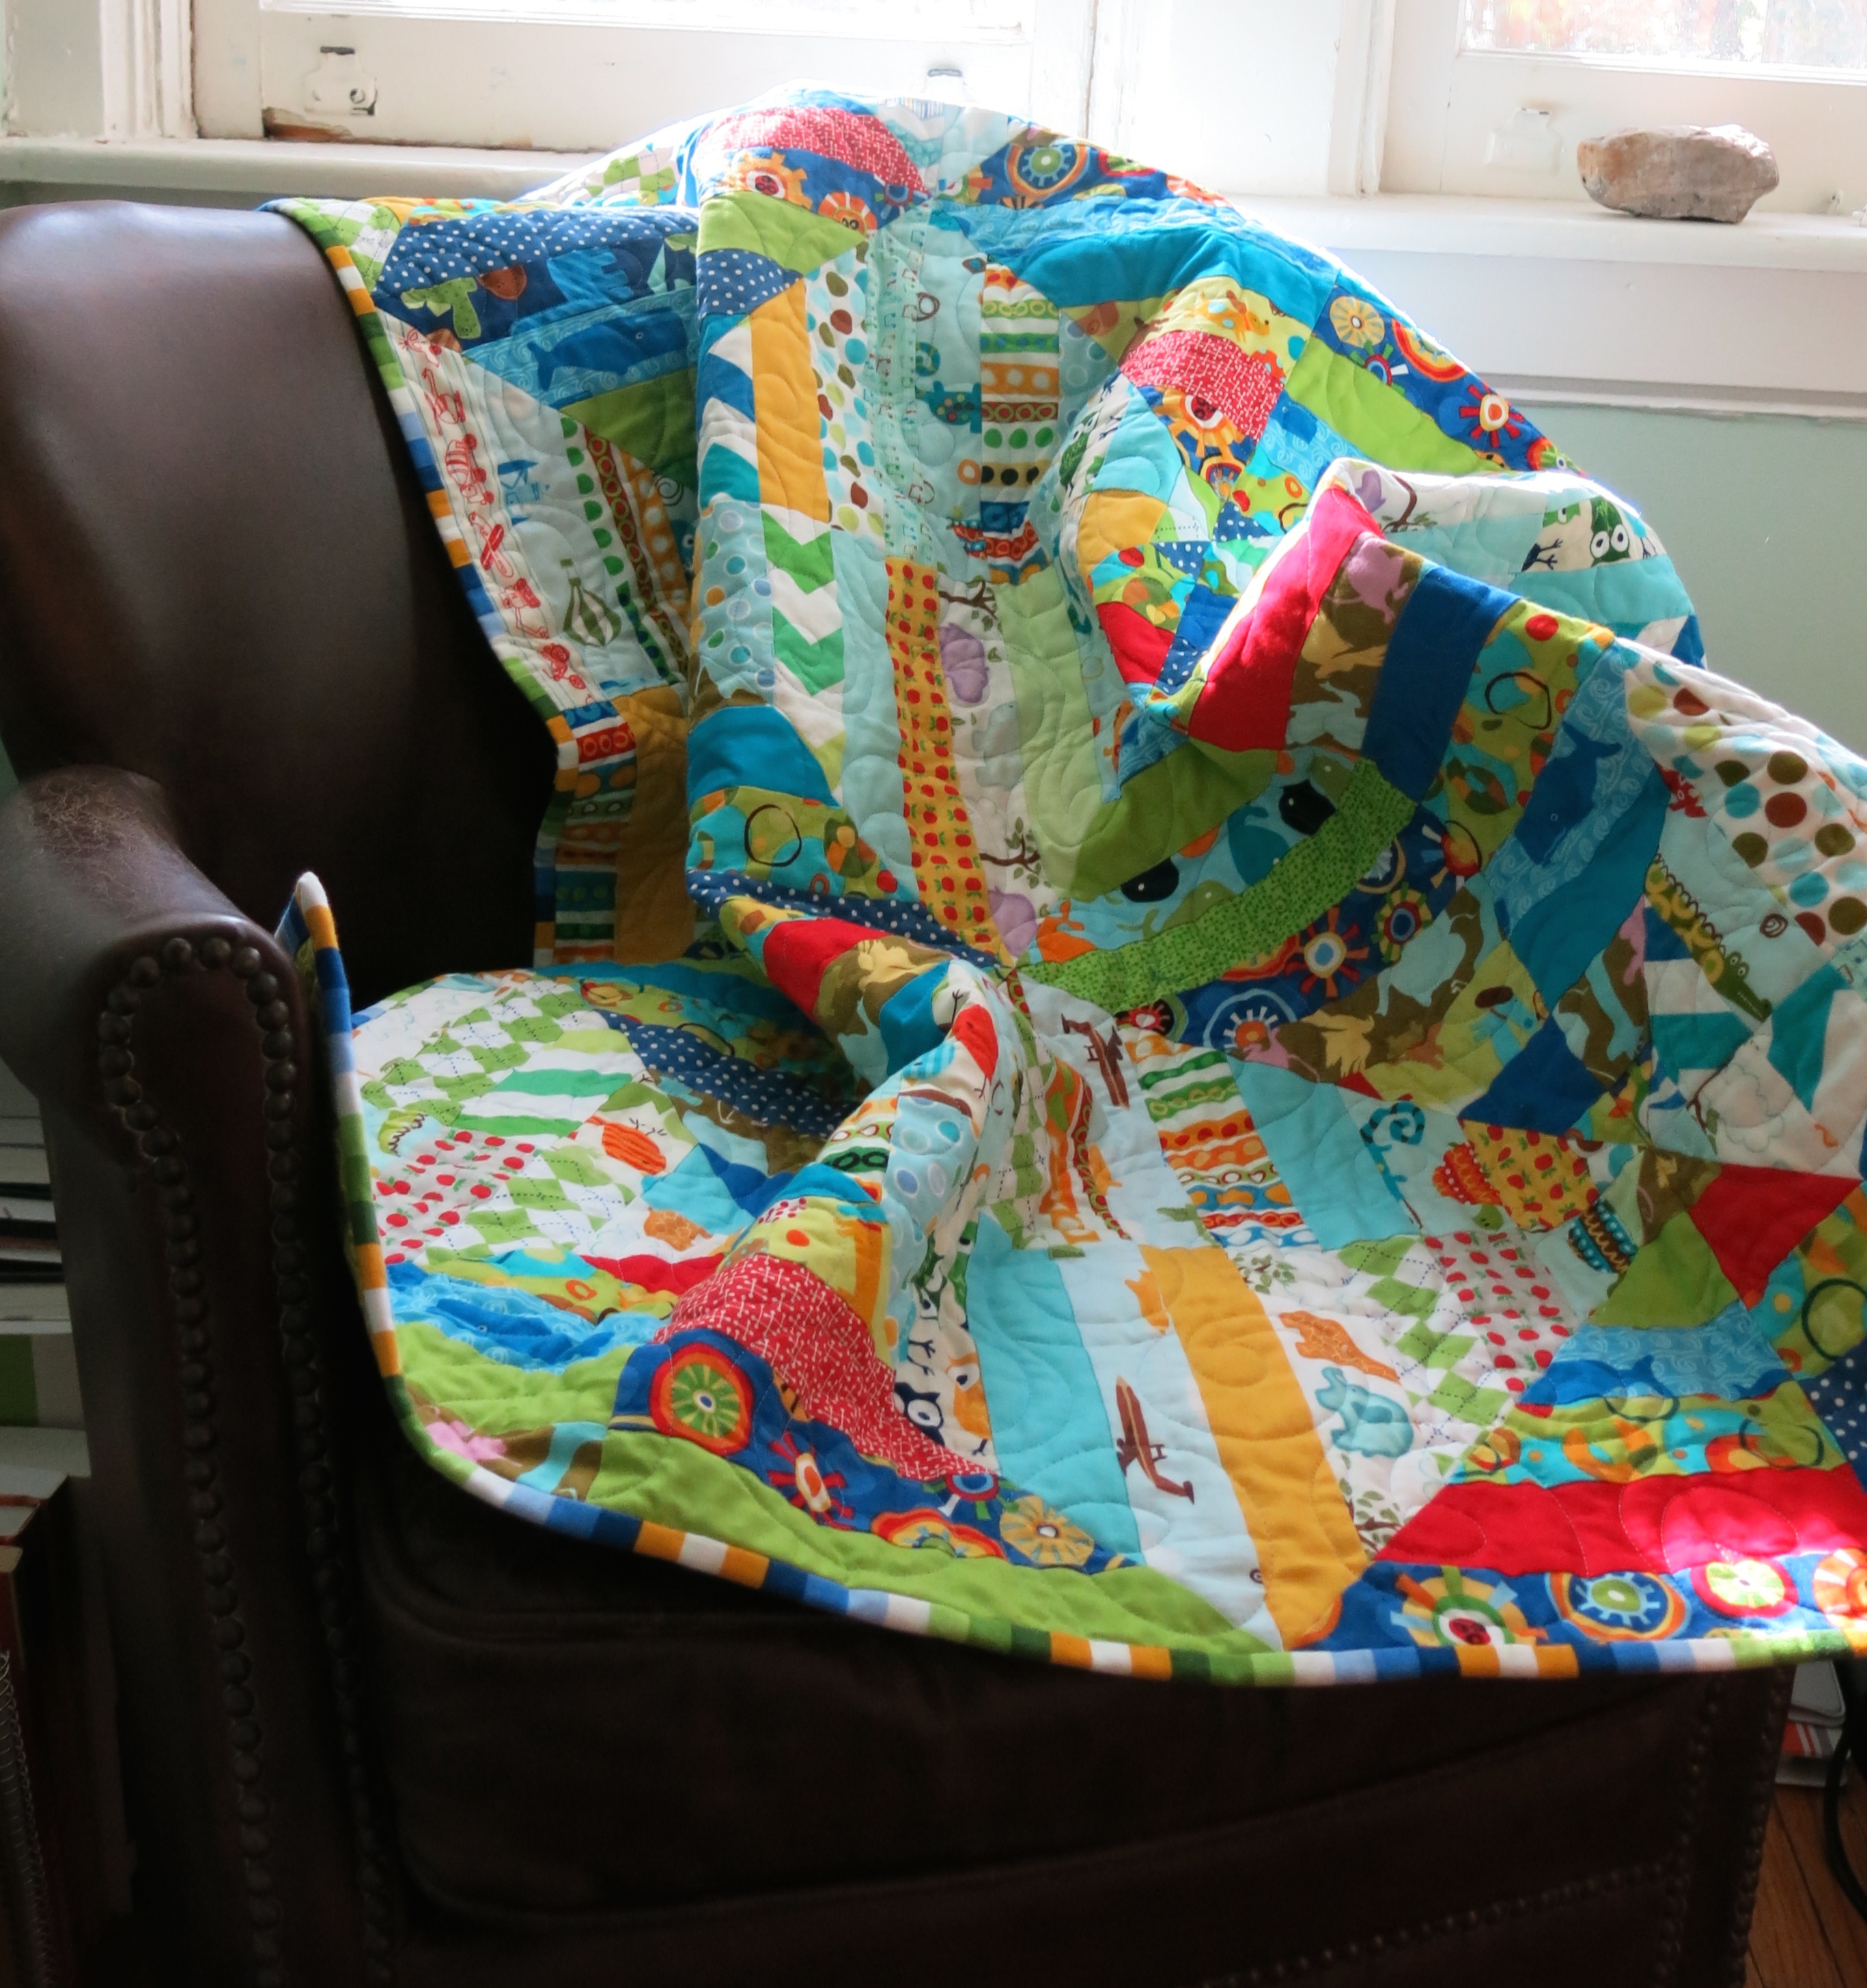
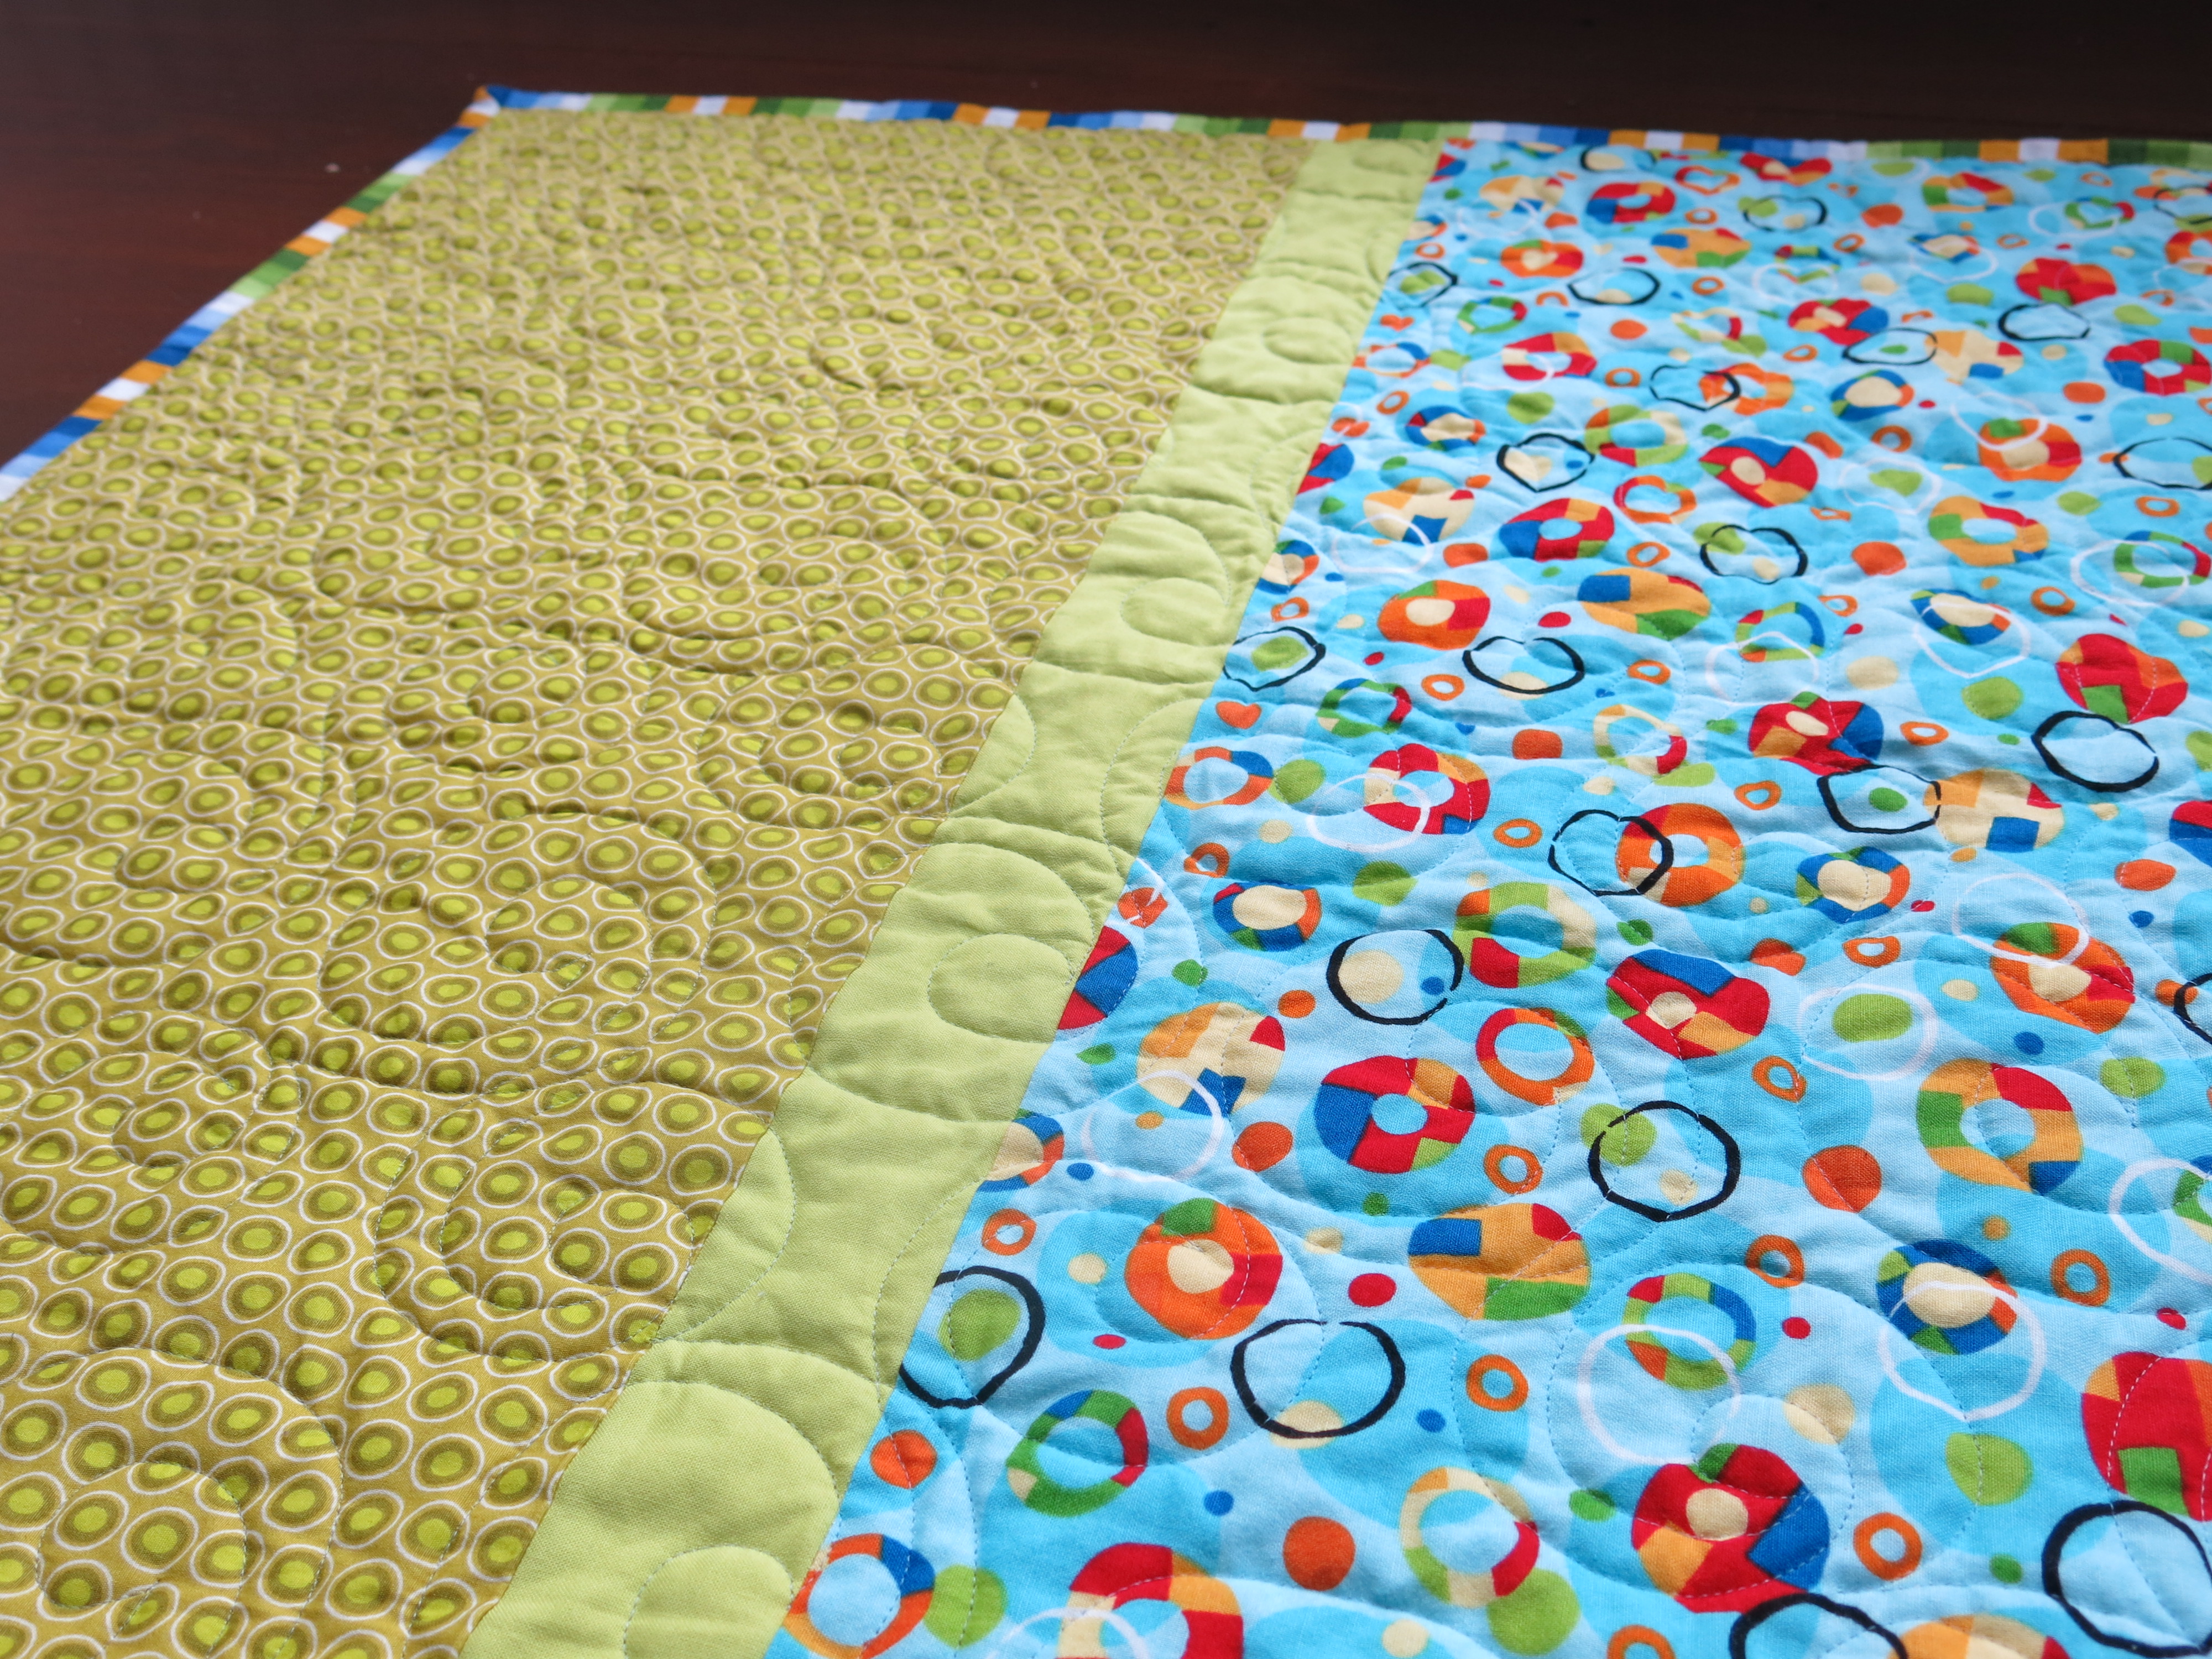
I have also been working diligently to build my stash (not that any help is needed!). I like to wash all my fabric as it comes in so that anything I pull out is ready to go. I know a lot of people don’t pre-wash, but I would hate for anything to shrink after washing. Most of the quilts I make are meant to be loved and used a lot, which means they will also need a lot of washing.

To be ironed!

To be ironed!

I took advantage of many online quilt sales this summer. The pile only looks so big because all the fabric is bunched up and crumpled (or so I tell my husband).

I have a big pile of newly started projects, but I’ve been fairly good at keeping them organized.

Current projects

Current projects

Clear plastic boxes keep projects together and make it easy to see what’s inside. We’ll be doing a post later about our sewing spaces, so I’ll share more then.

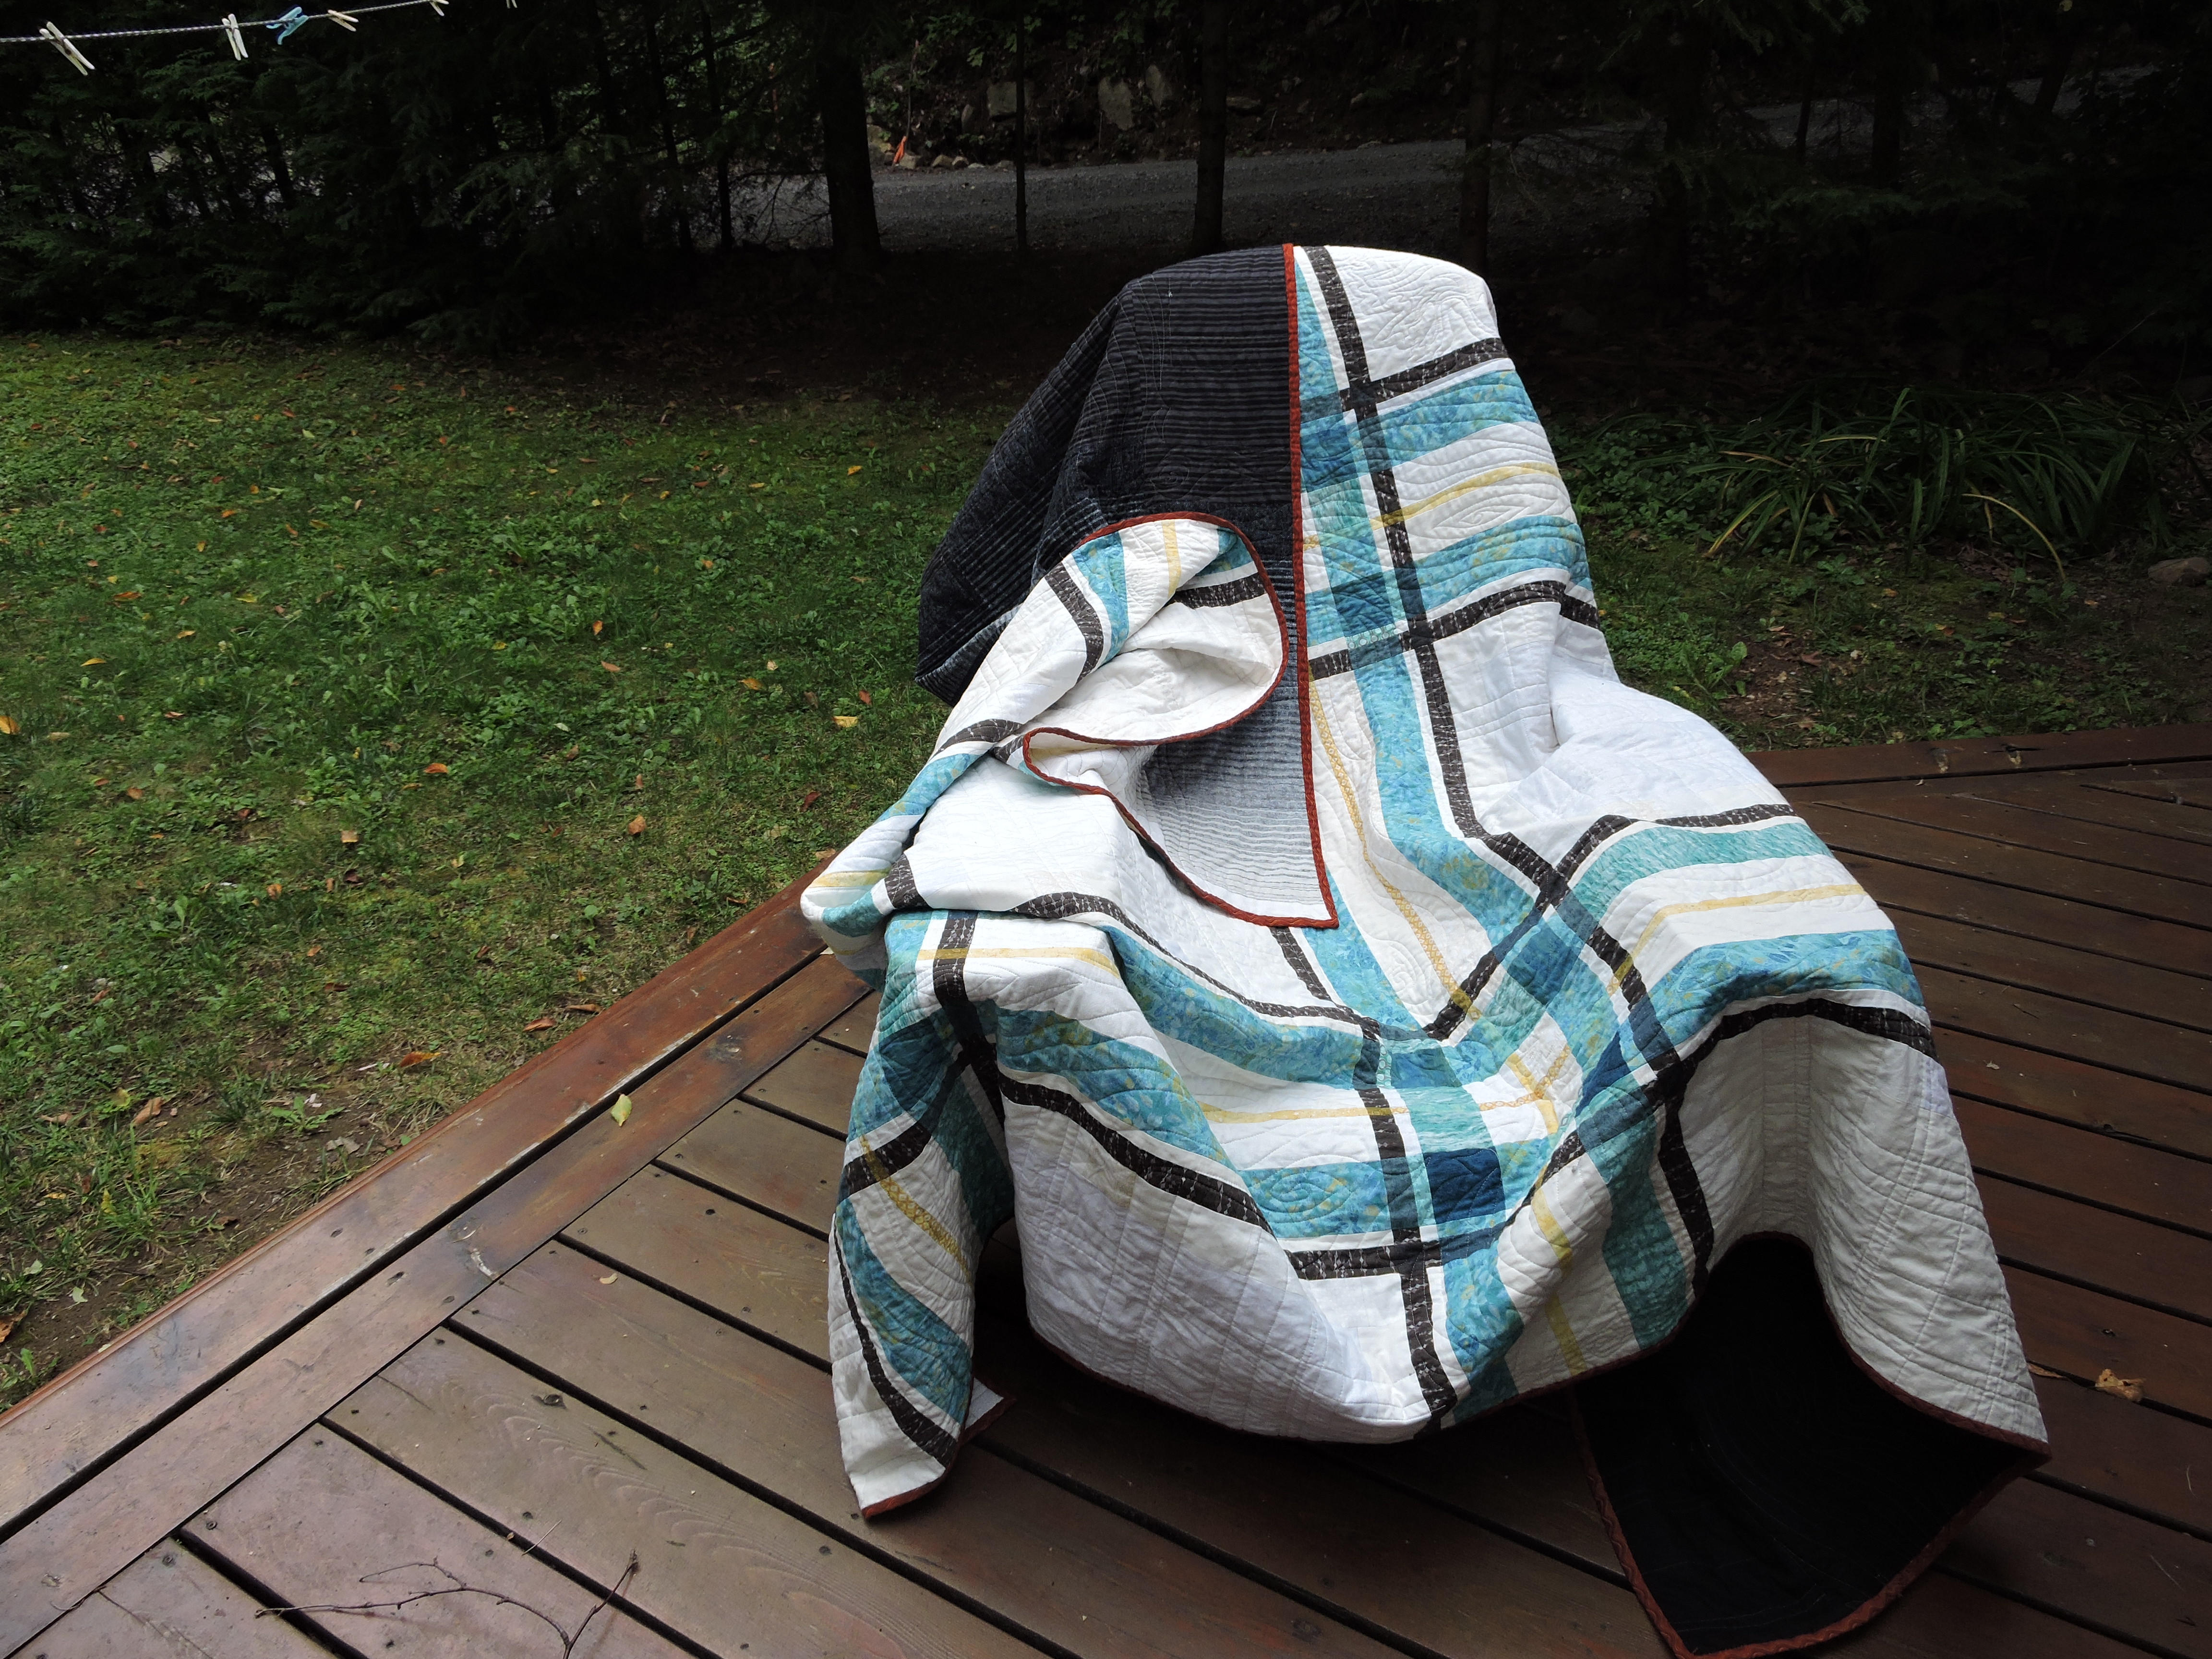
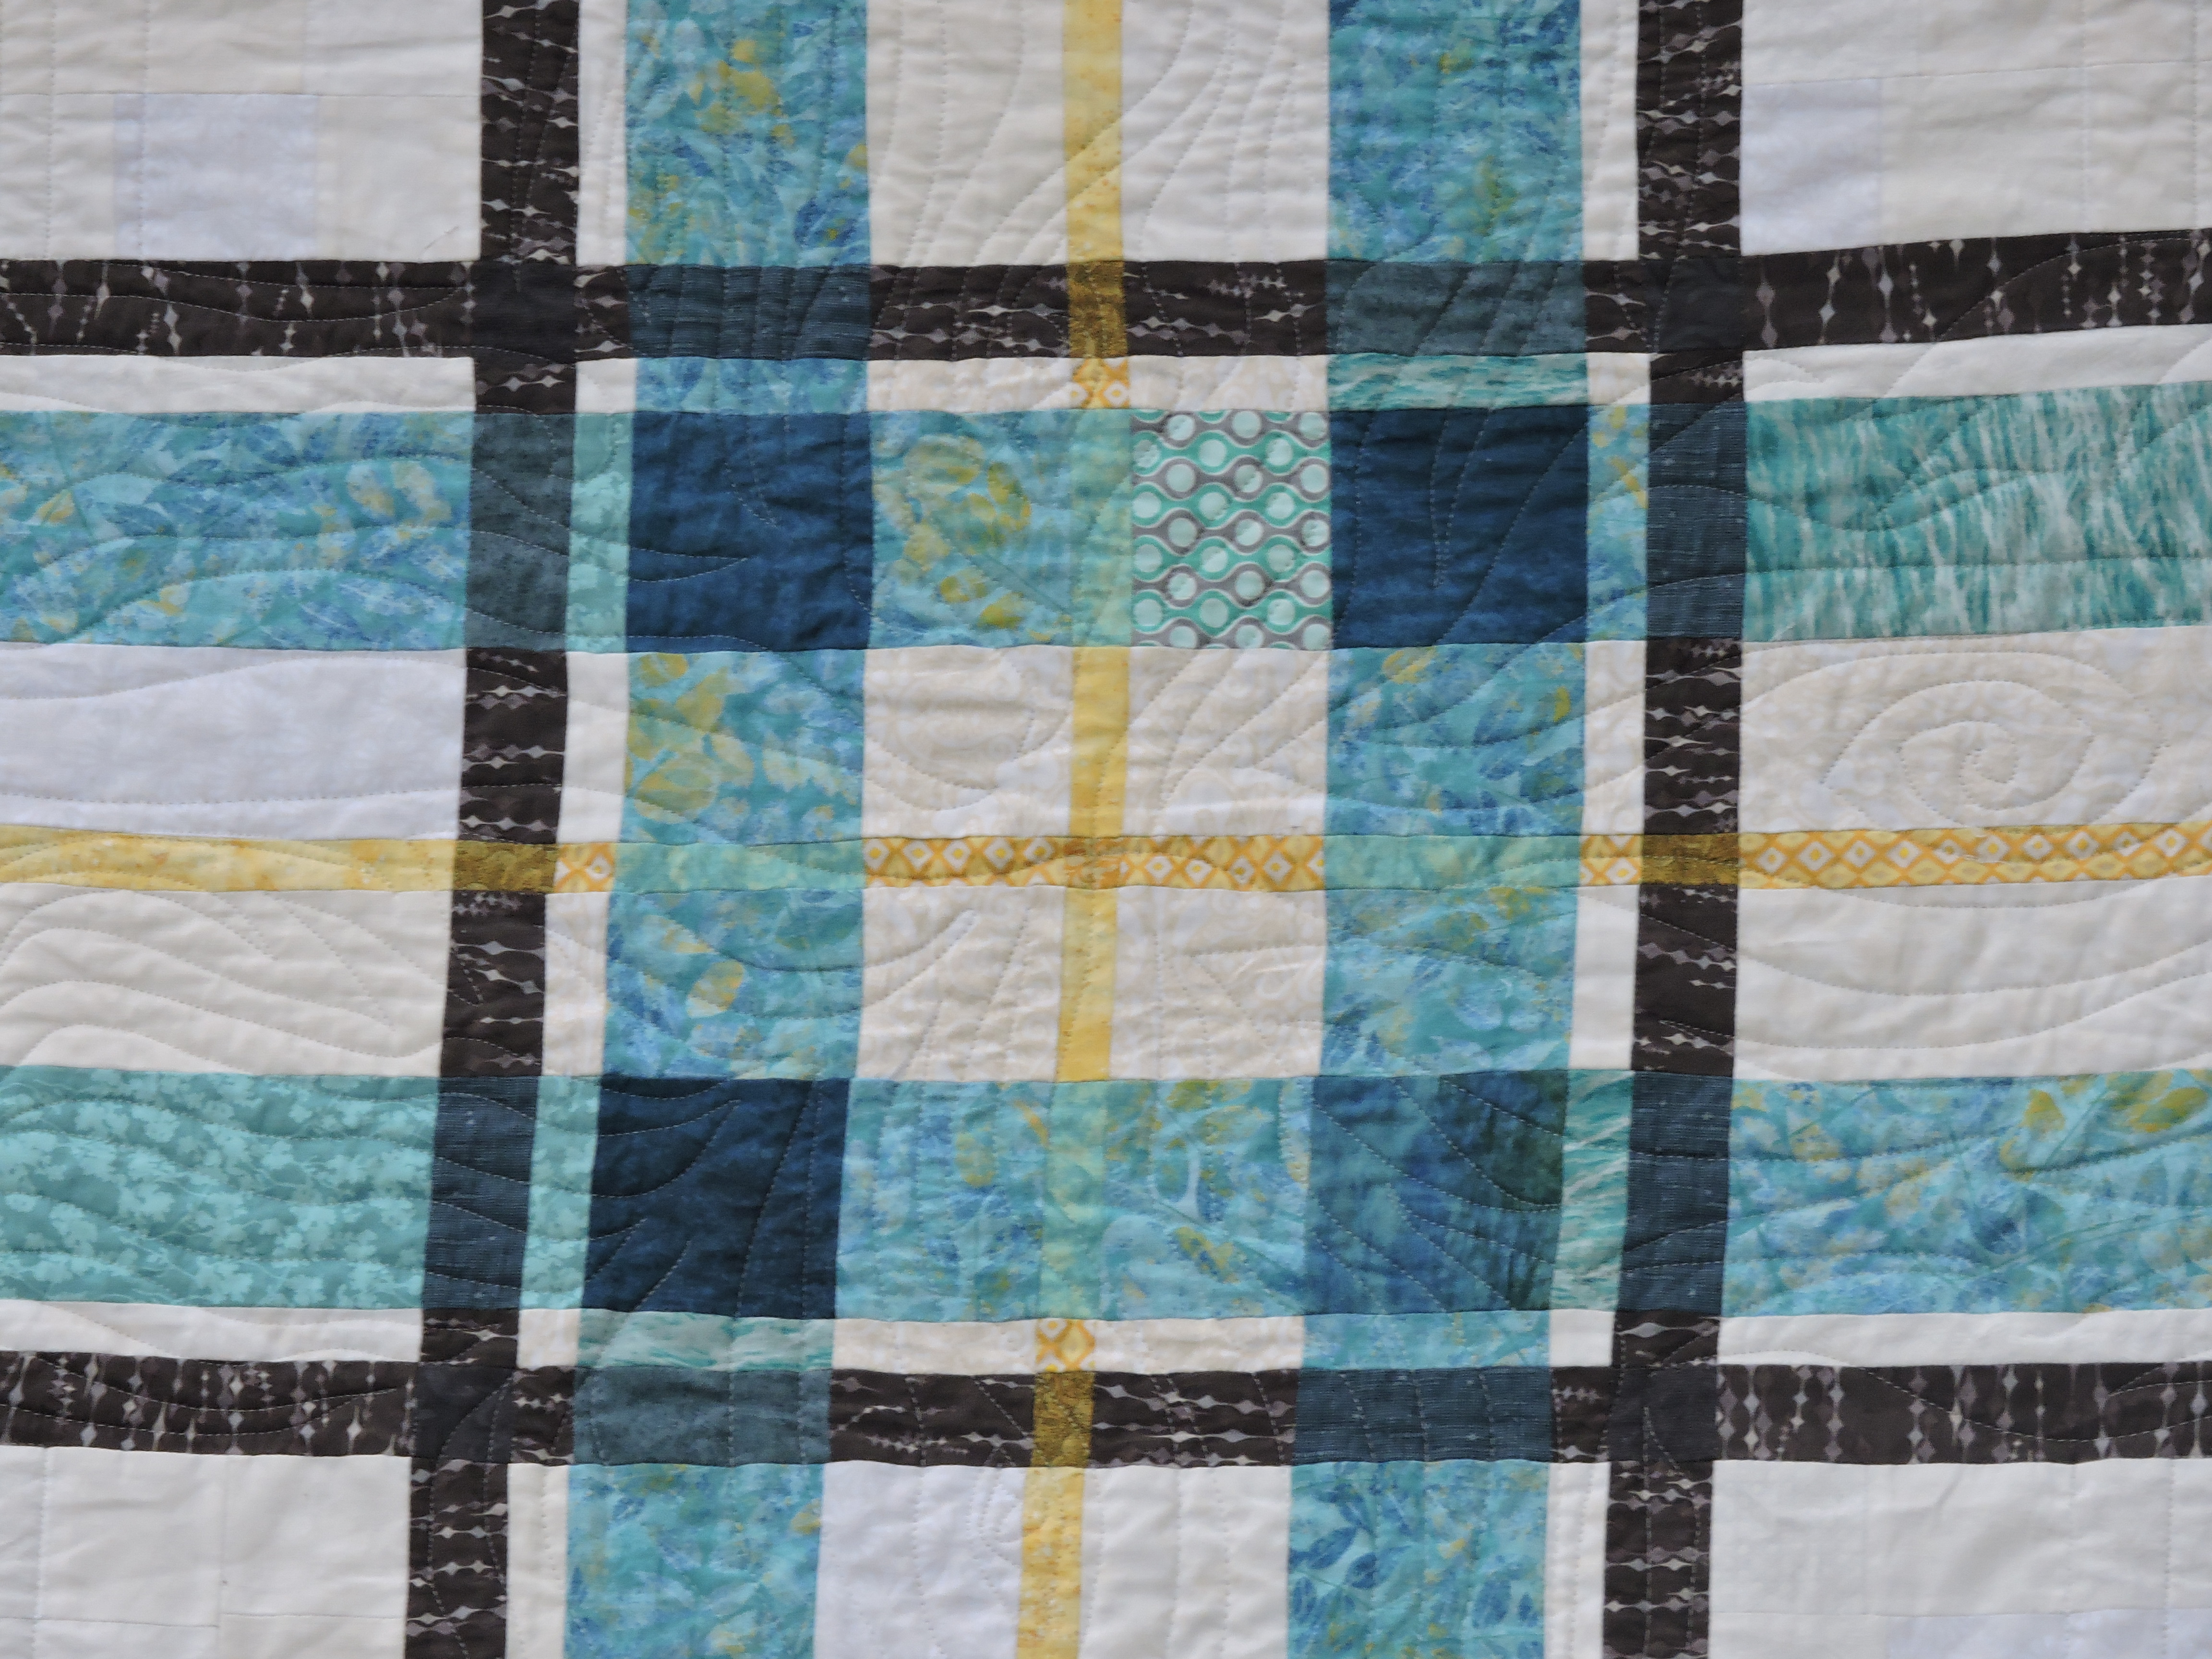
The other main thing I’ve been doing is finishing up old projects (to clear the way for new ones!). Unfortunately, this means a lot of seam ripping and picking out quilting.

Stitches to be picked out

Stitches to be picked out

Some of this work is very tedious – like the above photo. I’d started quilting a certain way, and it looked pretty bad. Now that we have the longarm machine I have a reason to pick it all out so I can redo it properly. Most of the things I need to redo are because I was quilting while tired or impatient and didn’t pin properly or just let standards slip. A stitch in time really does save nine!

– Emily