Mini quilt challenge

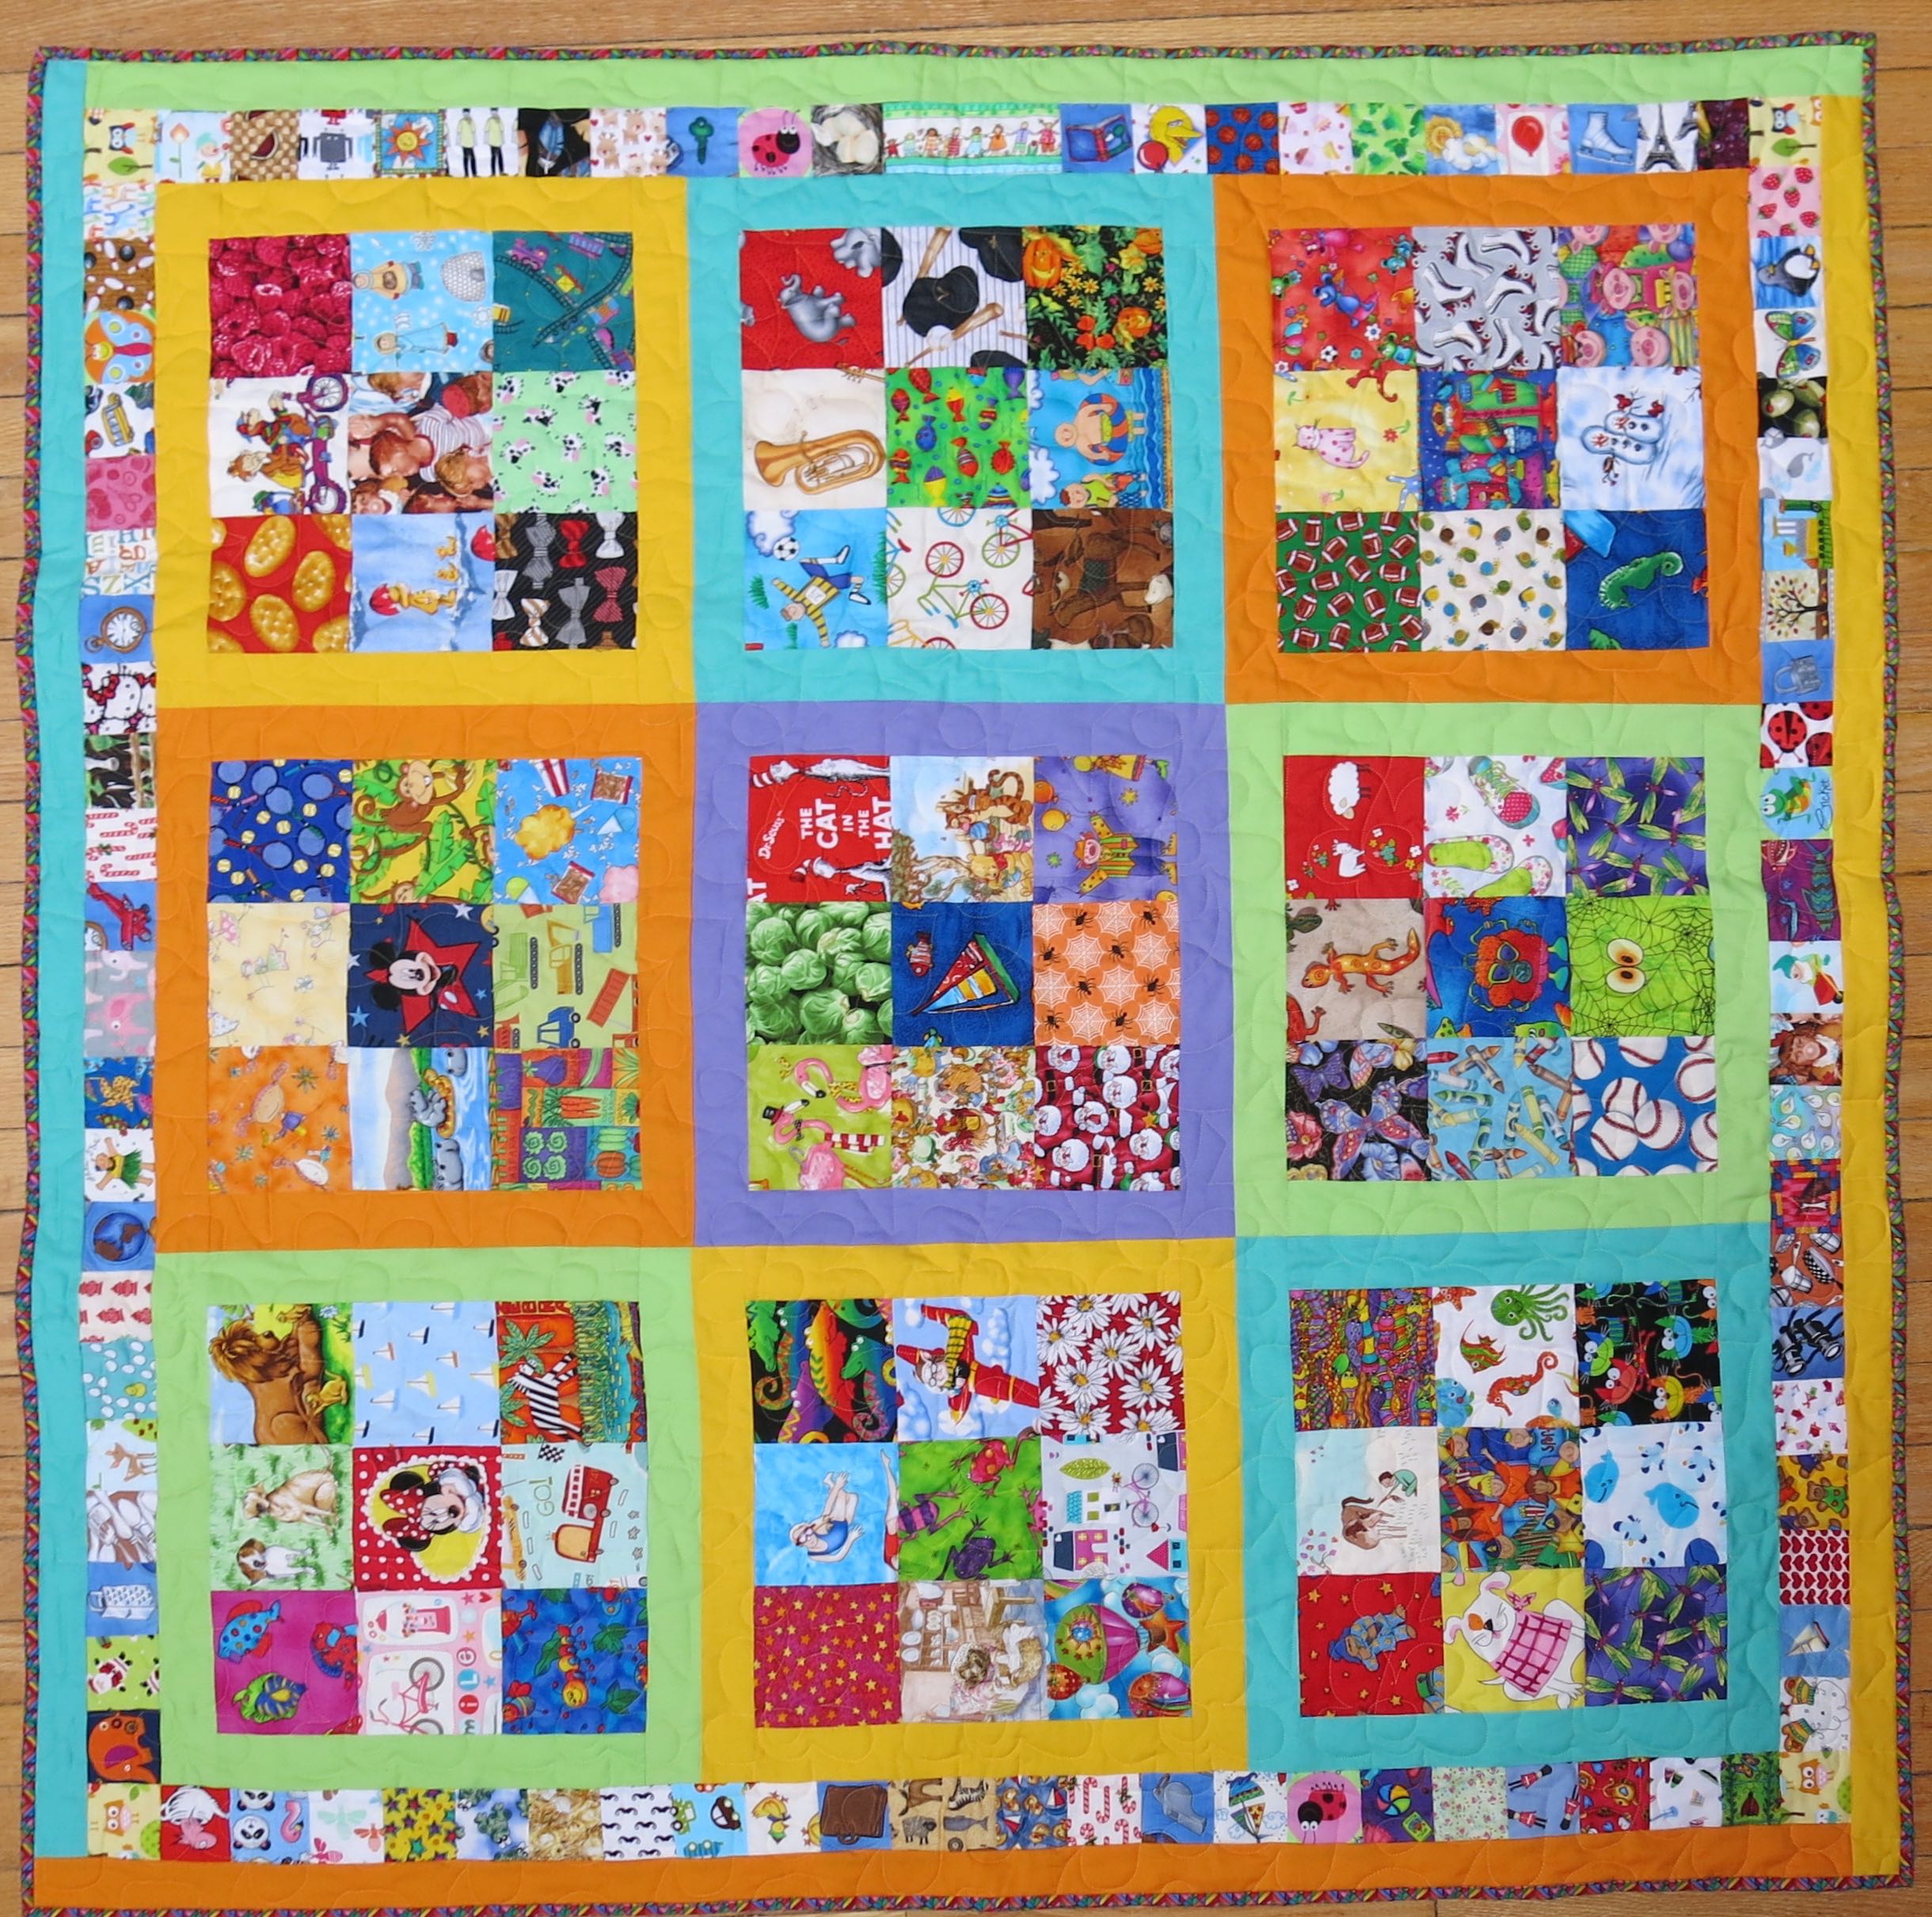
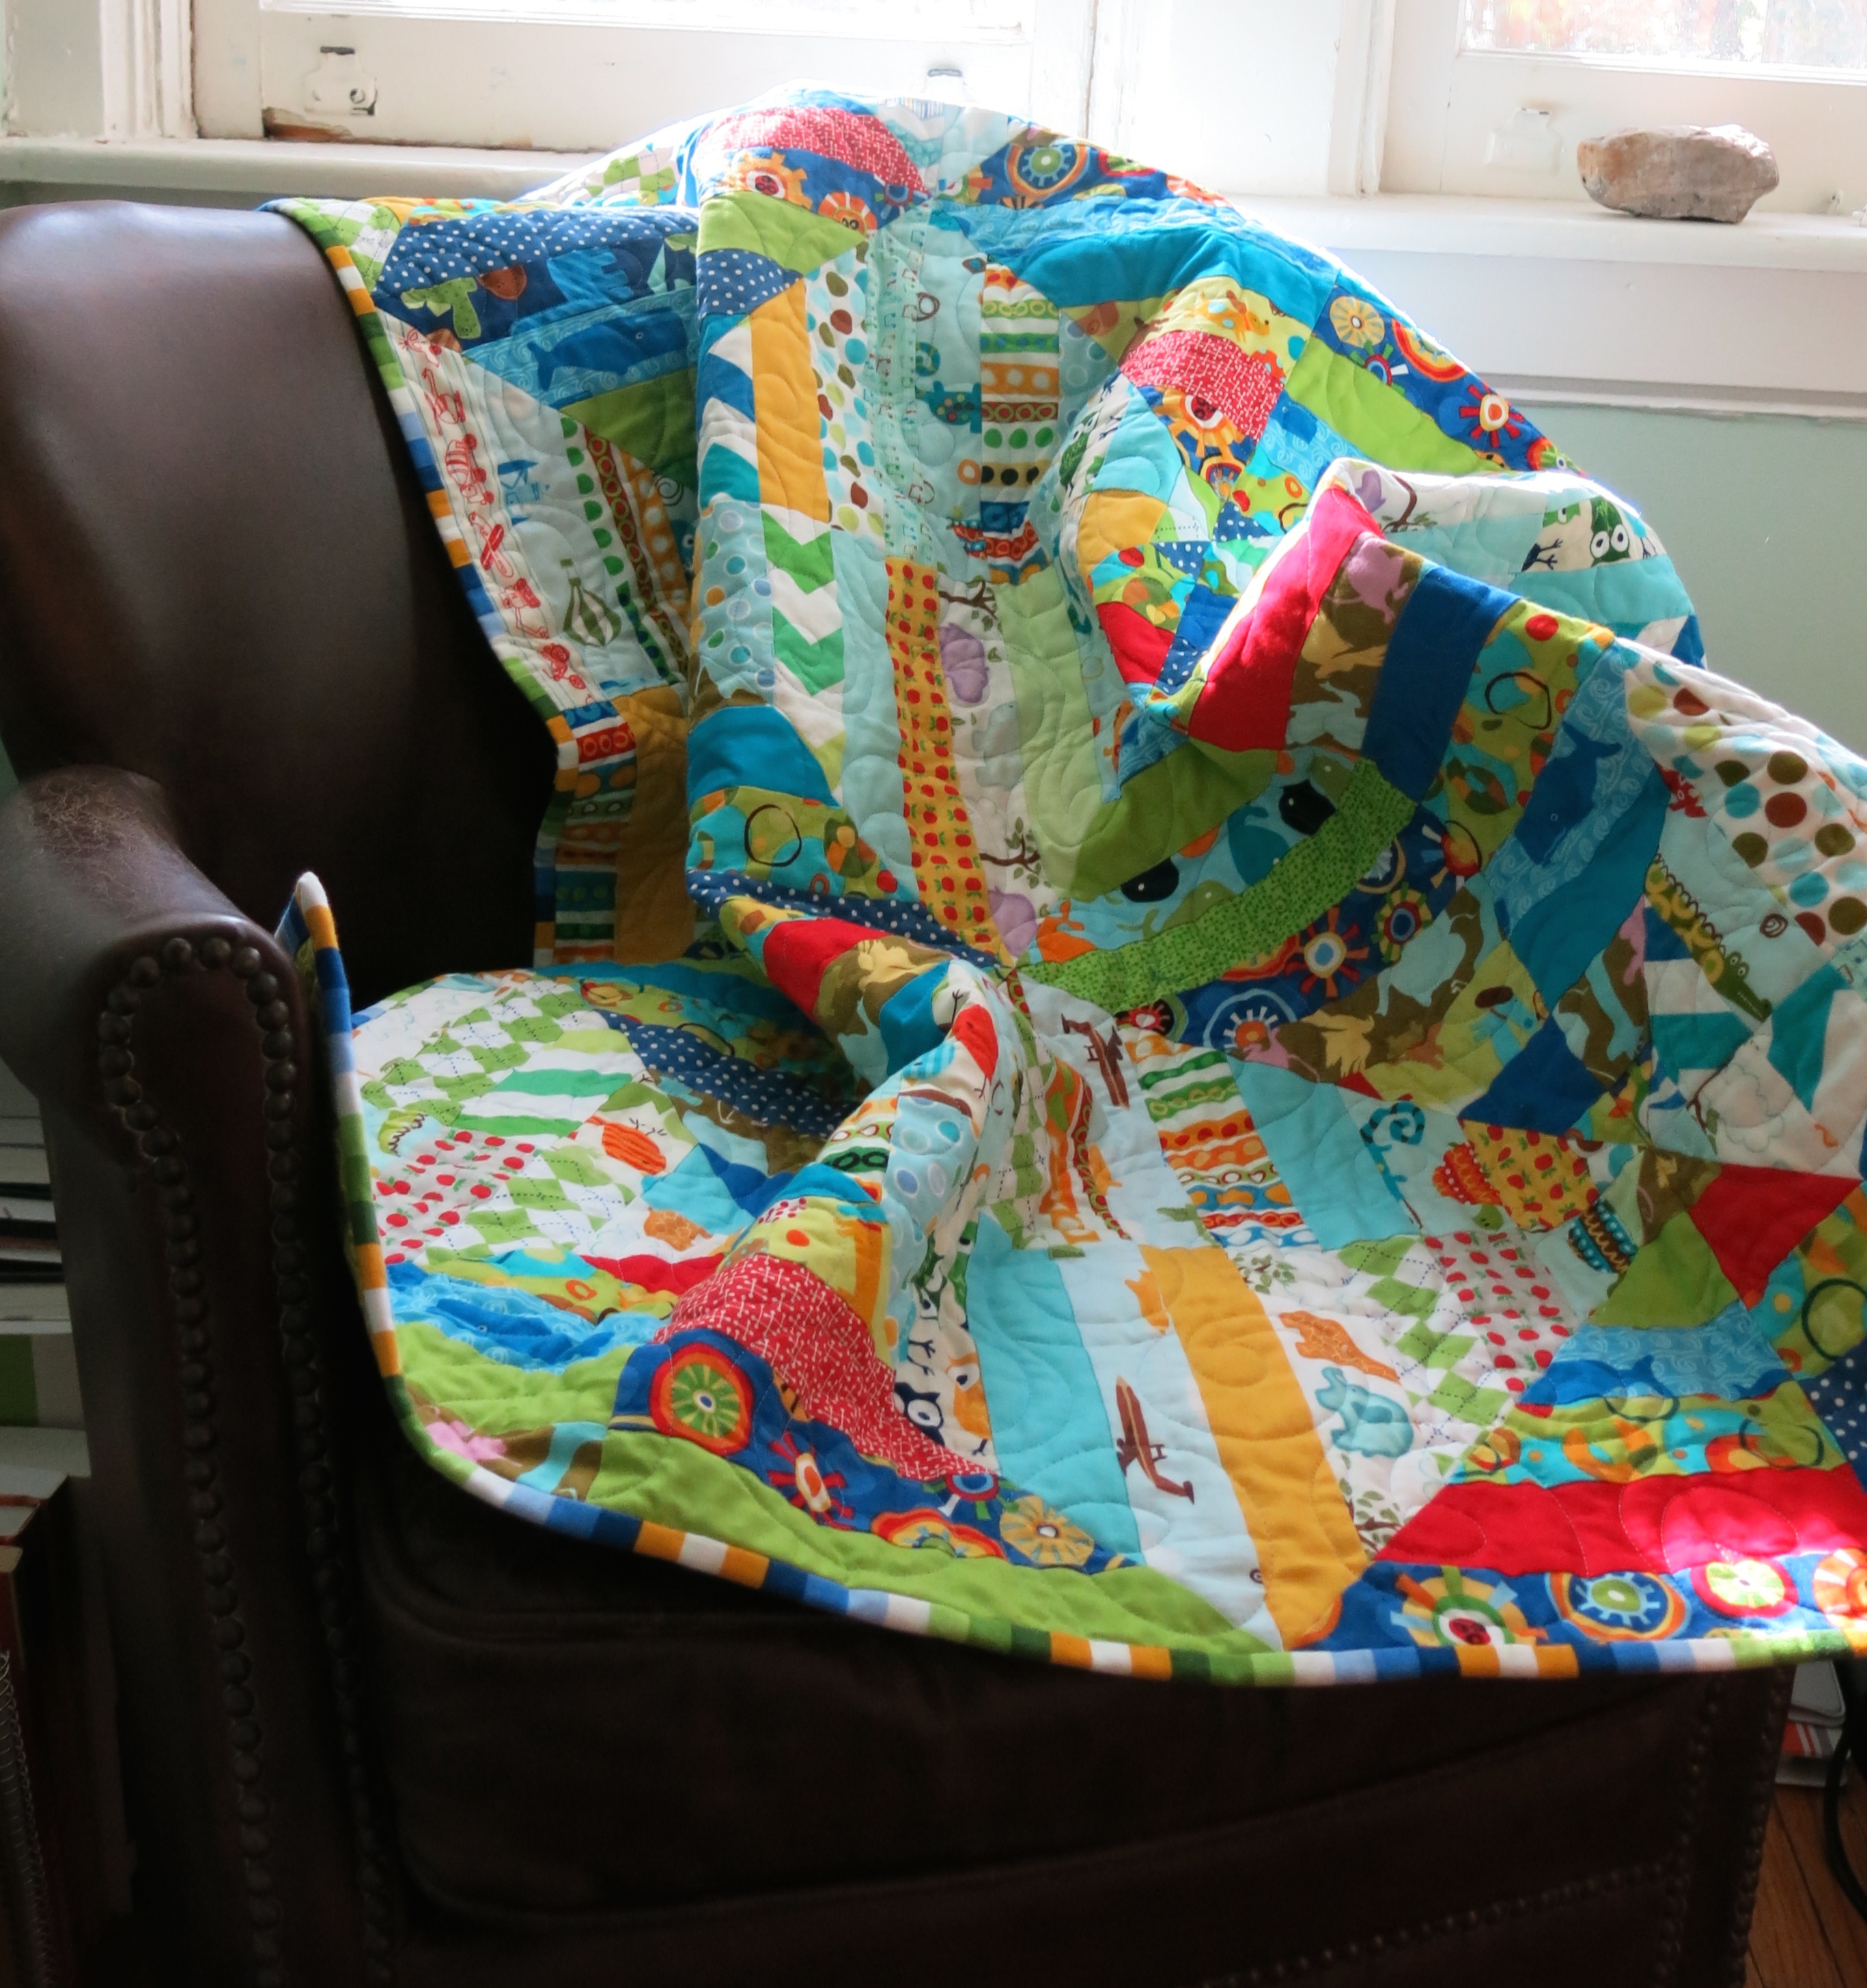
My local modern quilt guild recently held a mini quilt challenge. Everyone got a magazine and had to make a quilt inspired from page 25, with the final quilt perimeter measuring 48-60 inches.

We recently moved, and in the upheaval I lost my page. I took the closest magazine handy and tore out page 25, which turned out to be about an upcoming museum exhibit on Pompeii. It’s mostly text. I decided to use my new found love of curves (ha!) to make an image to represent the eruption of Vesuvius.

IMG_3190

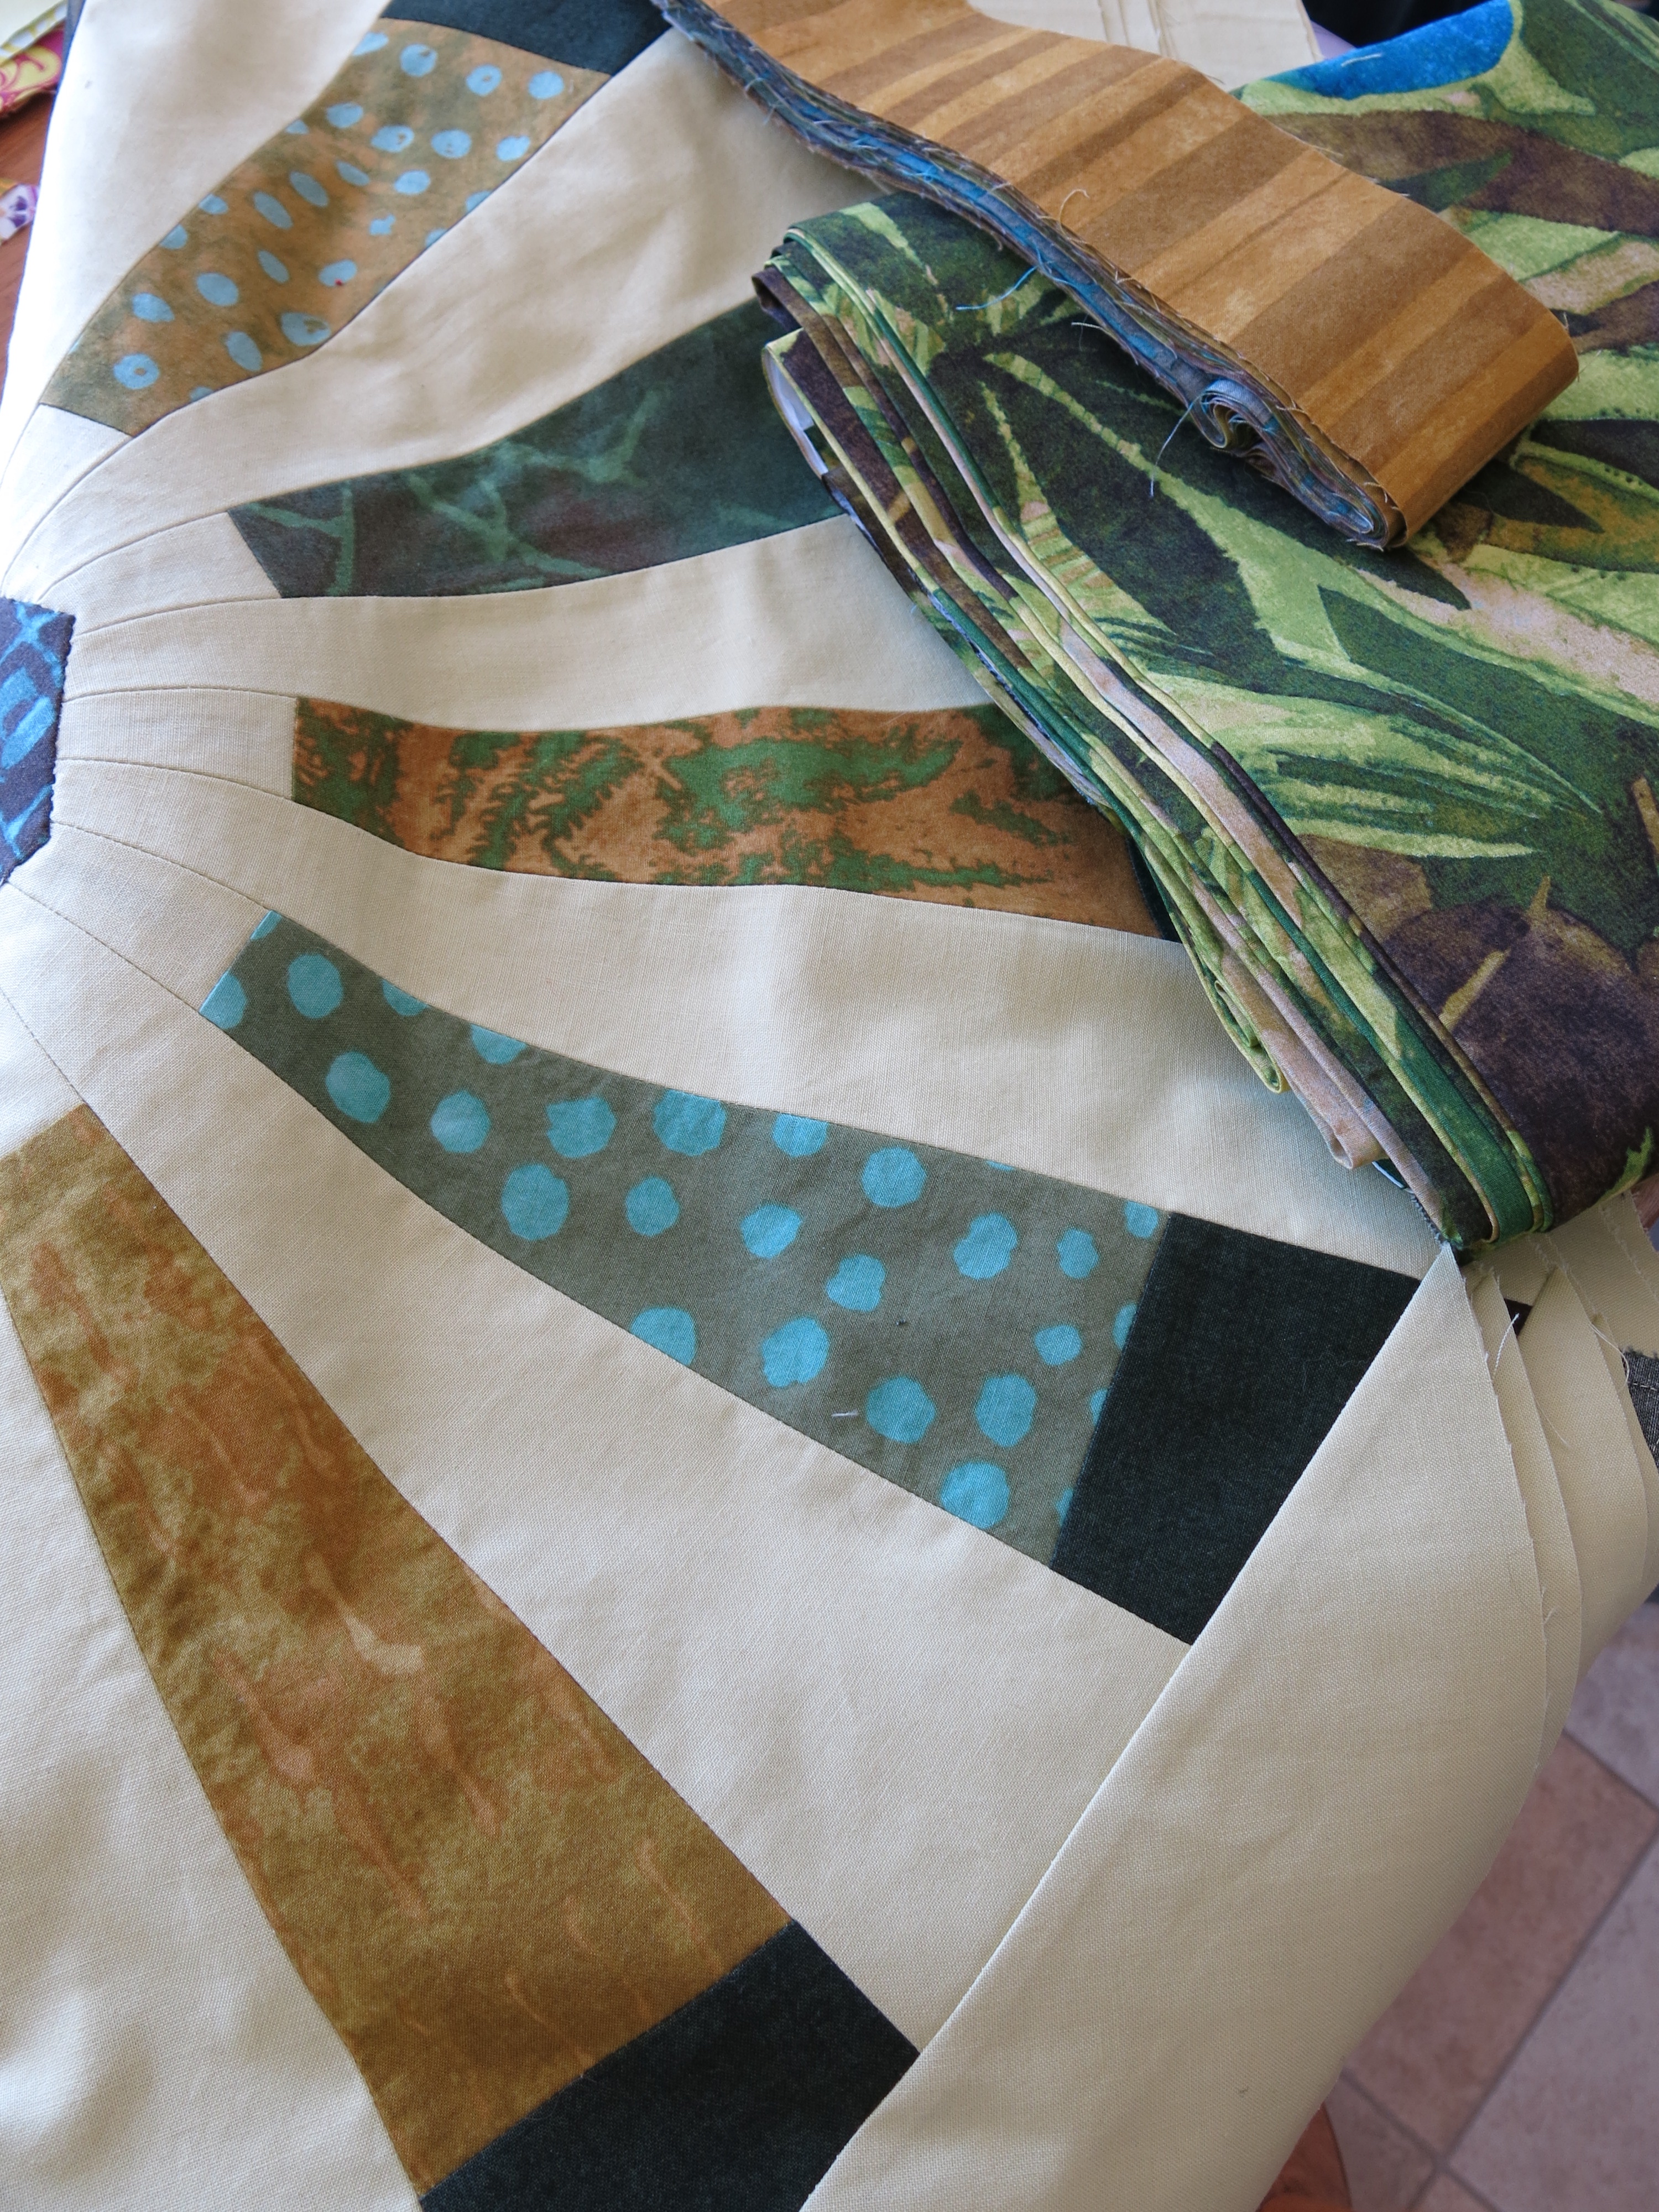
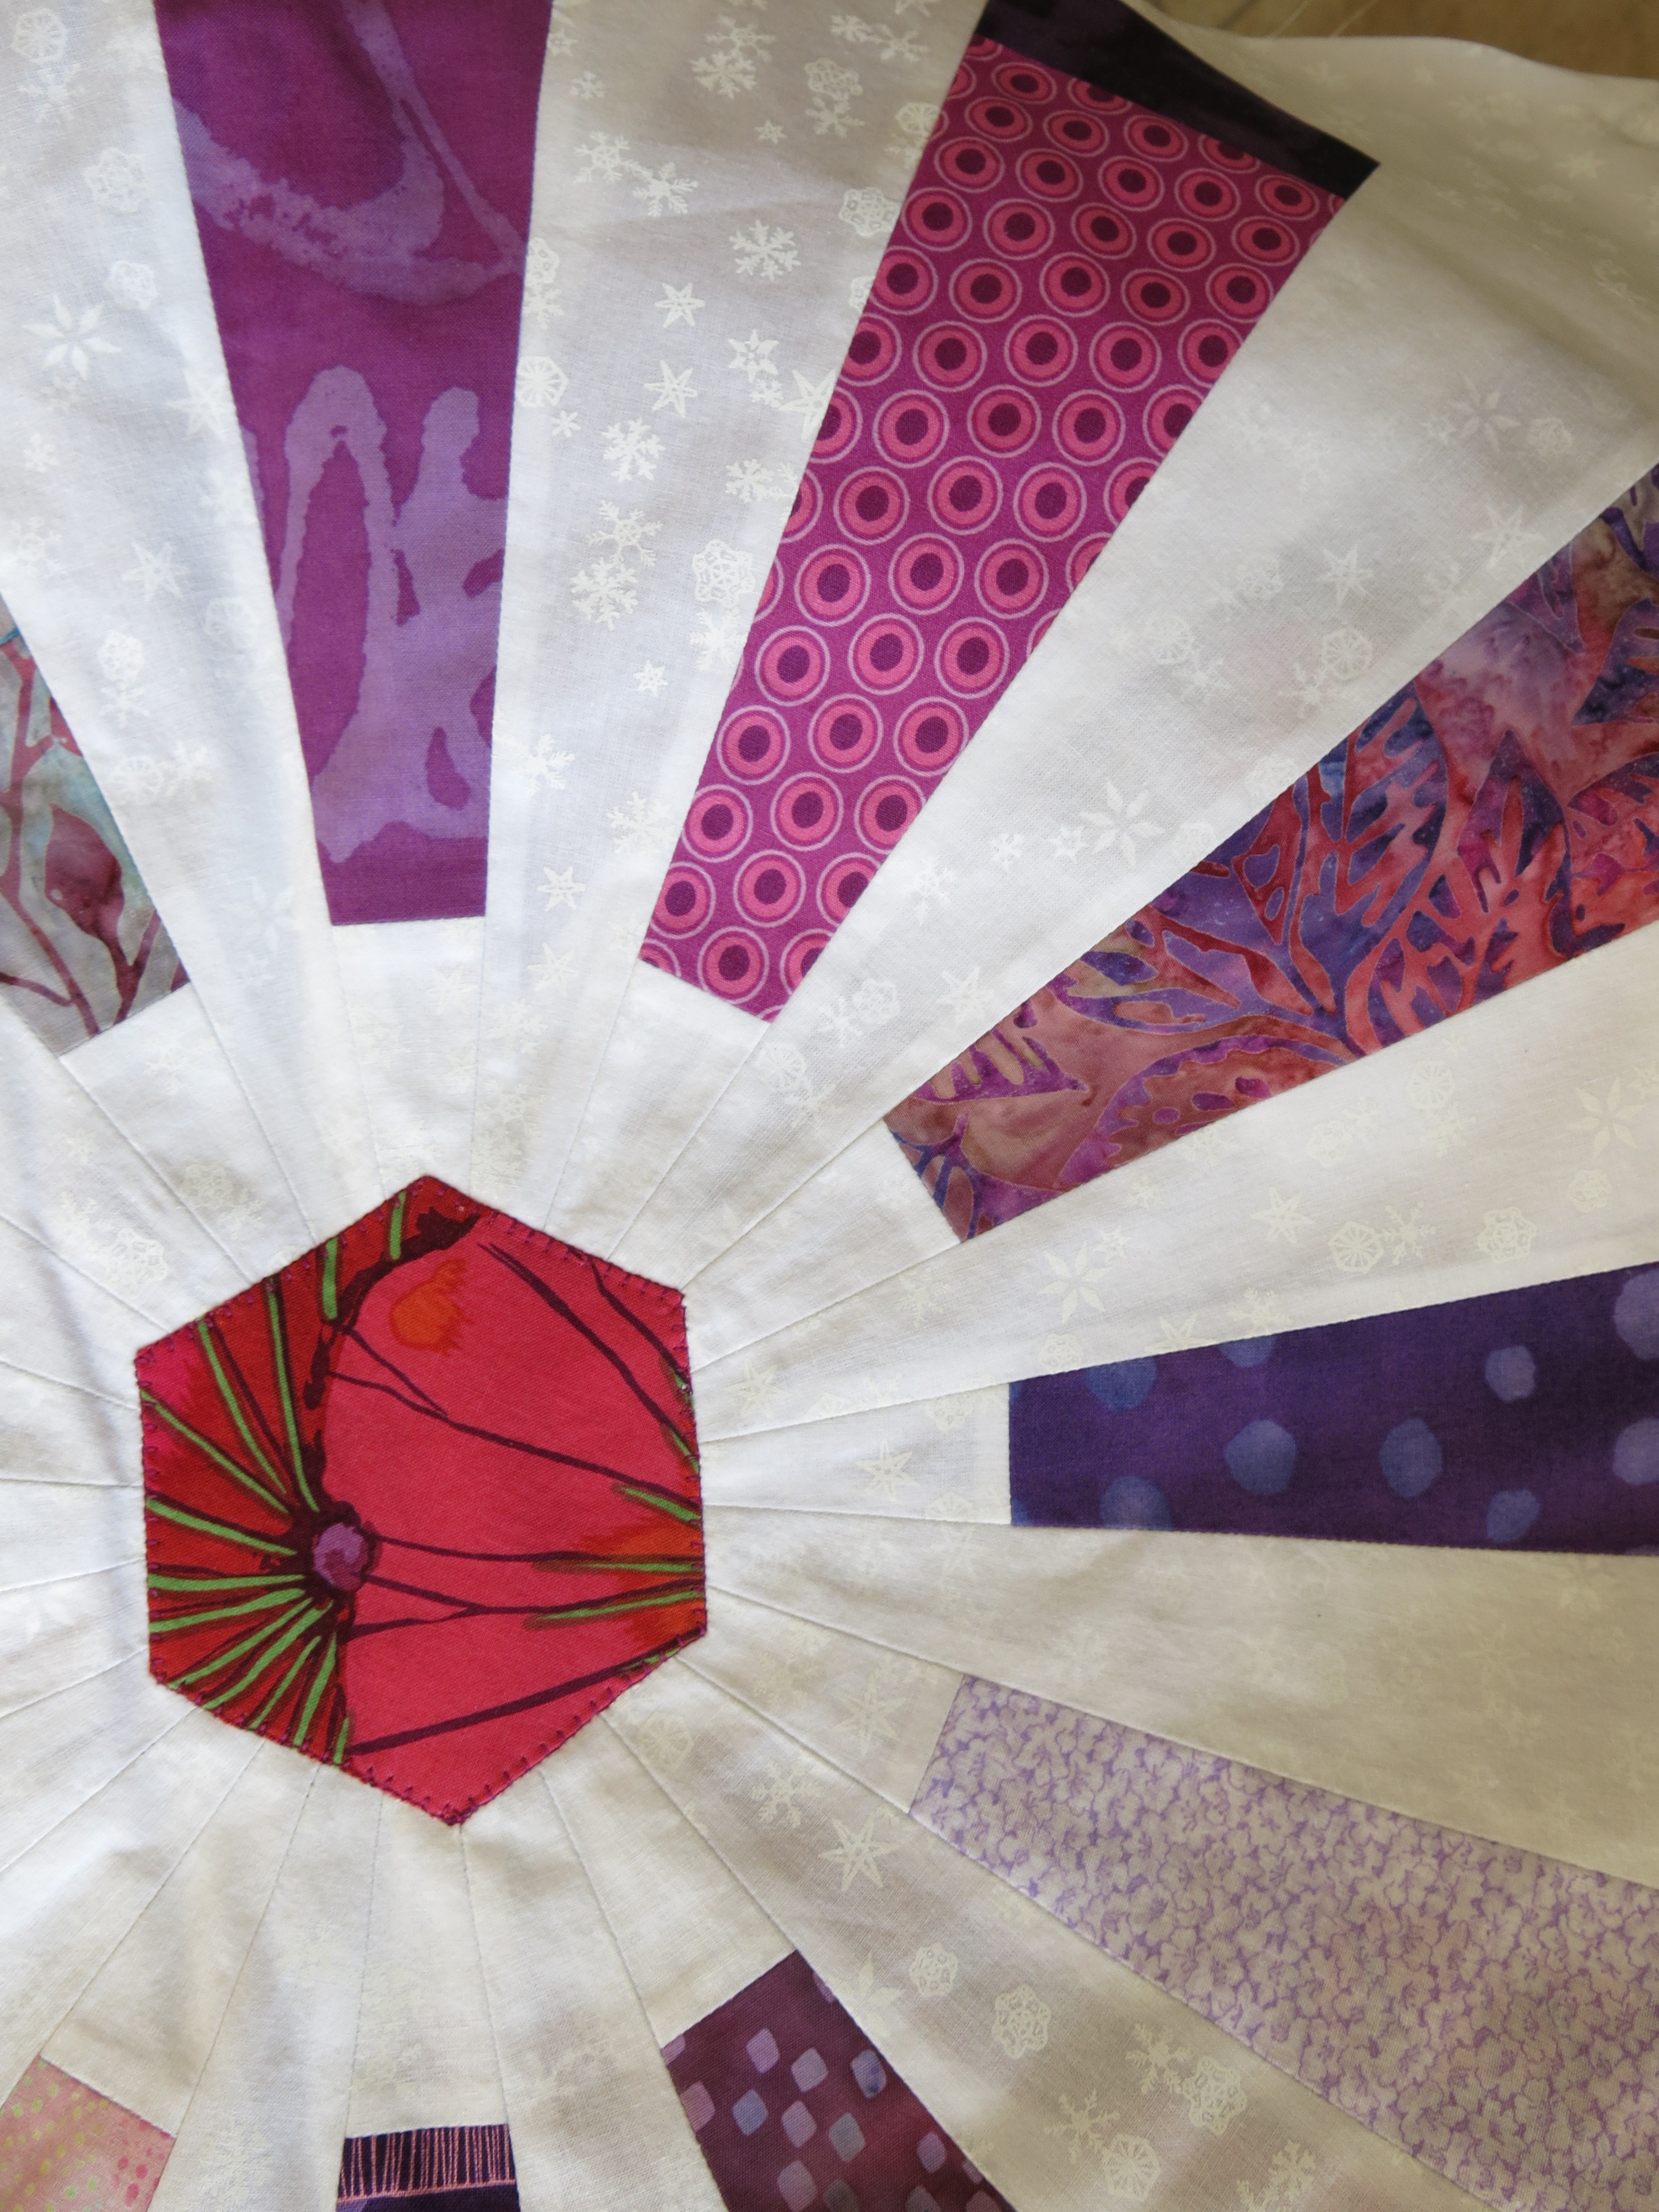
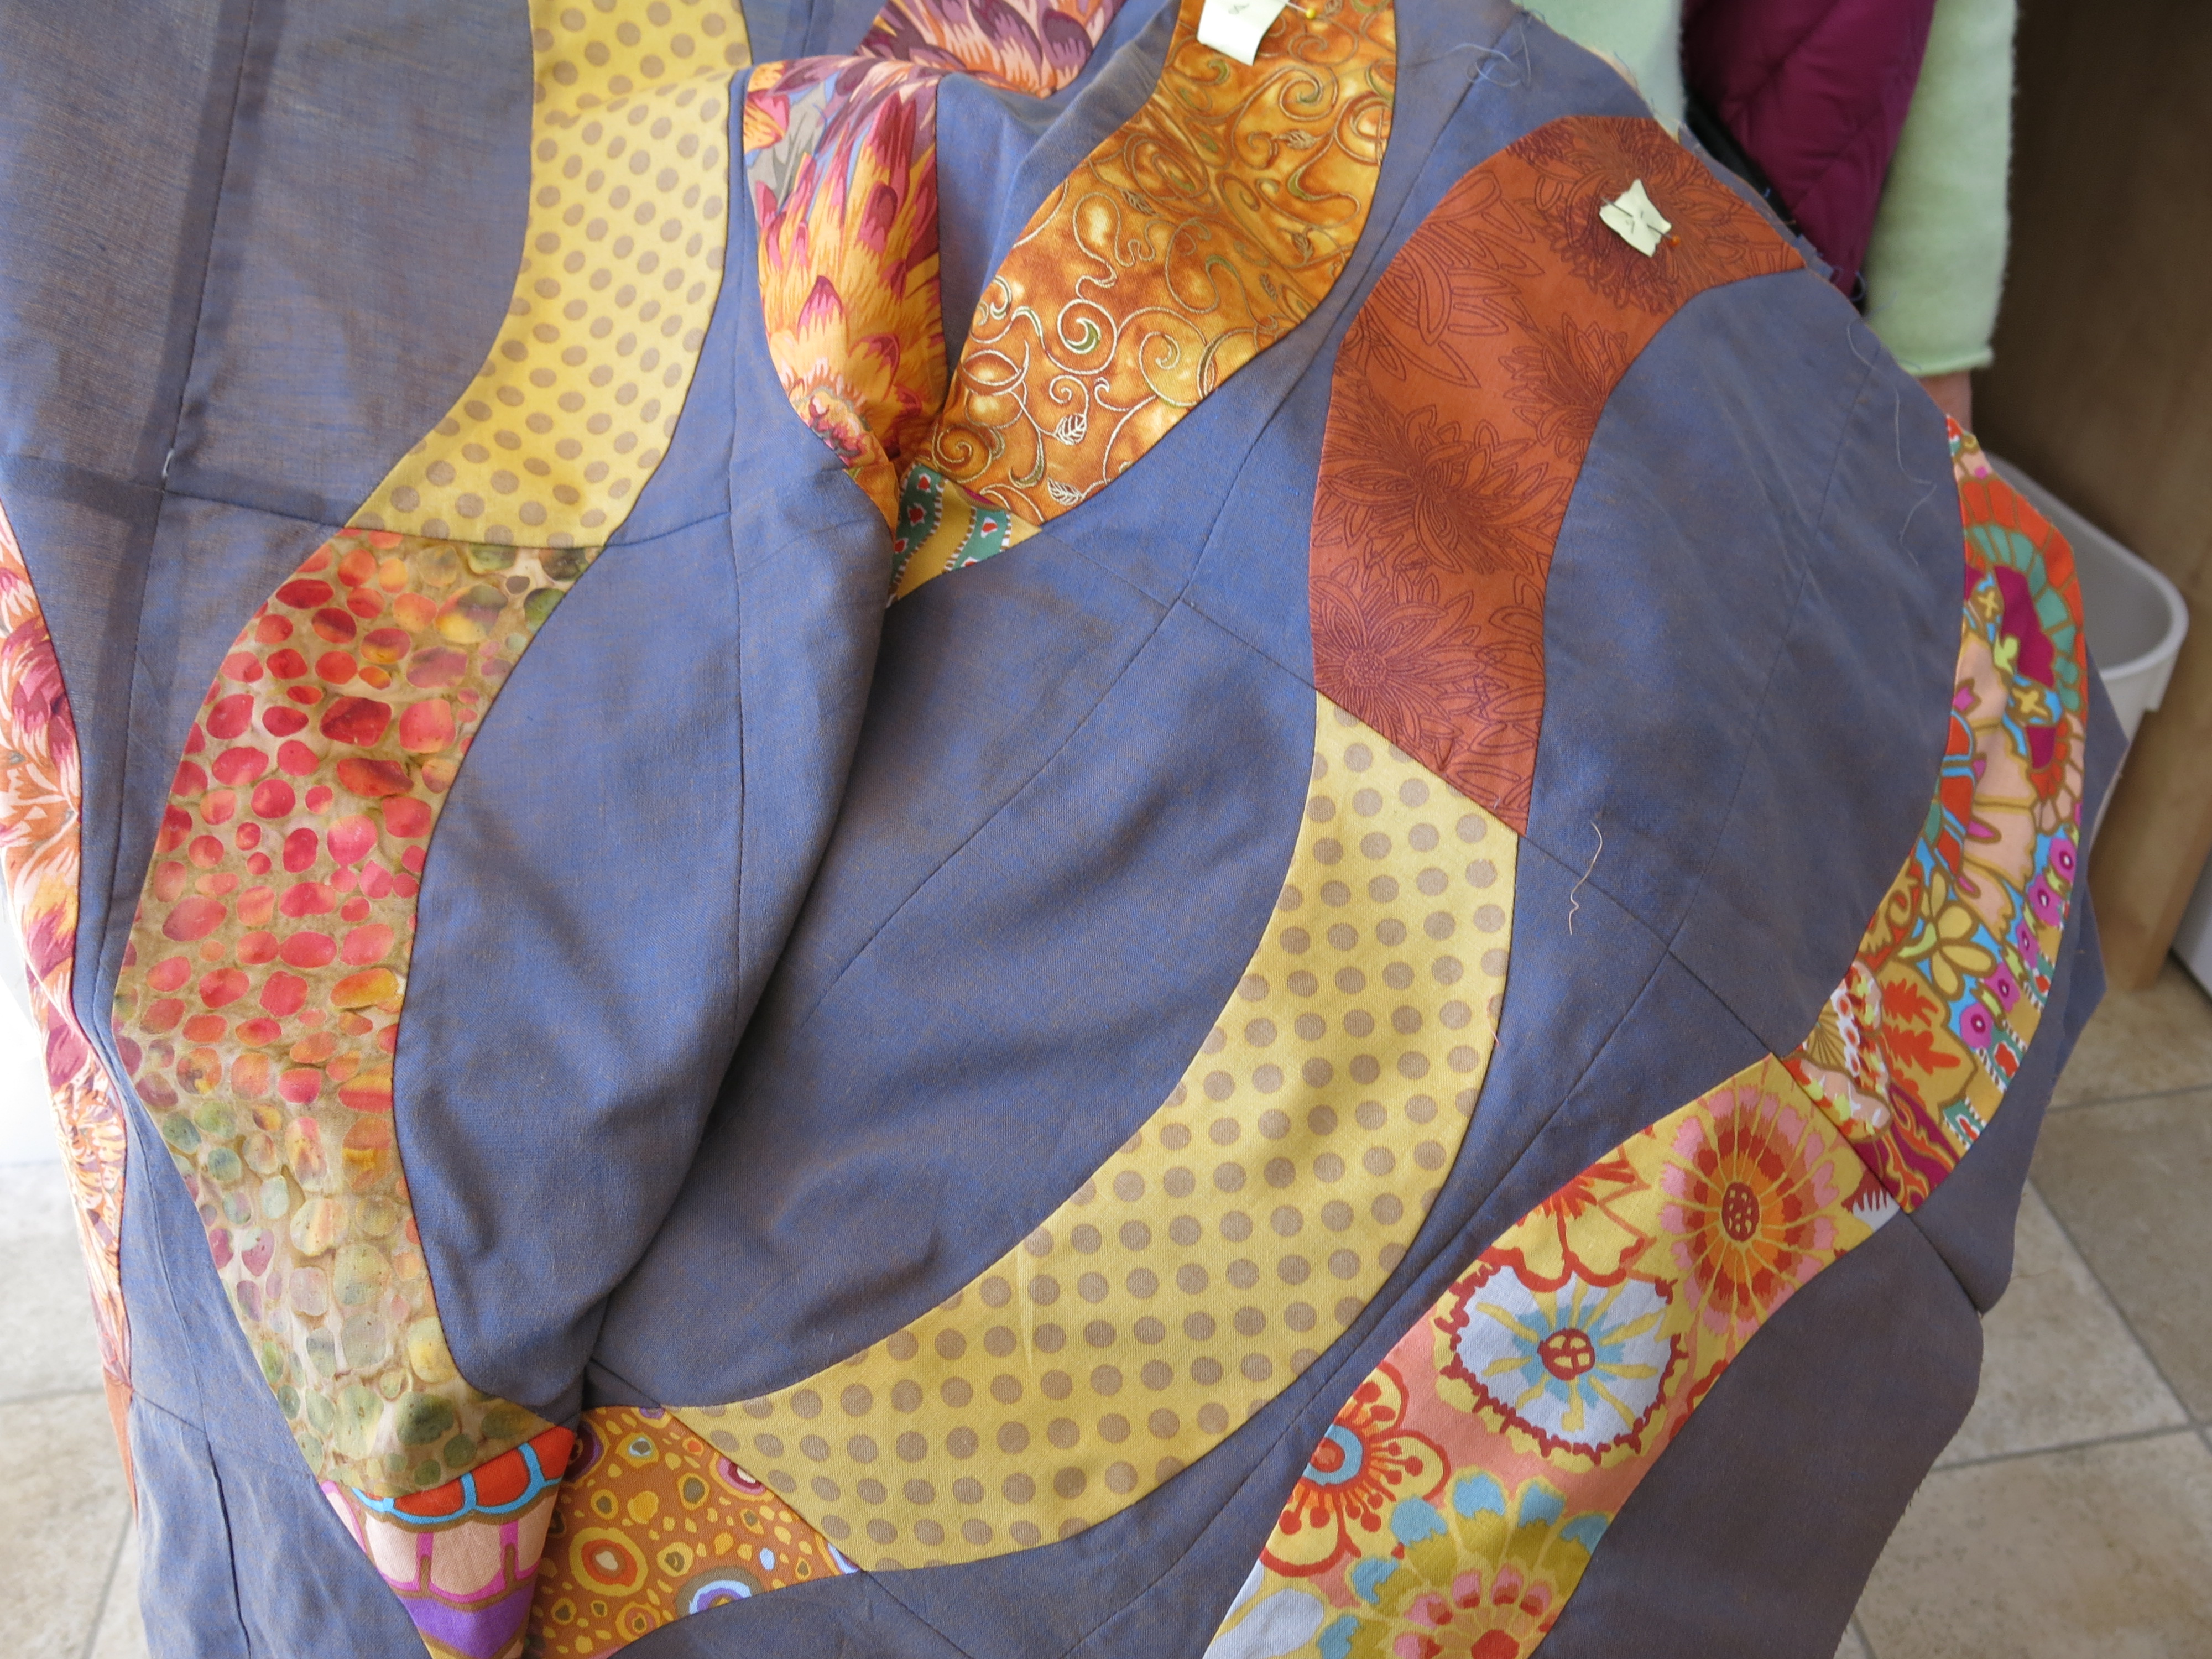
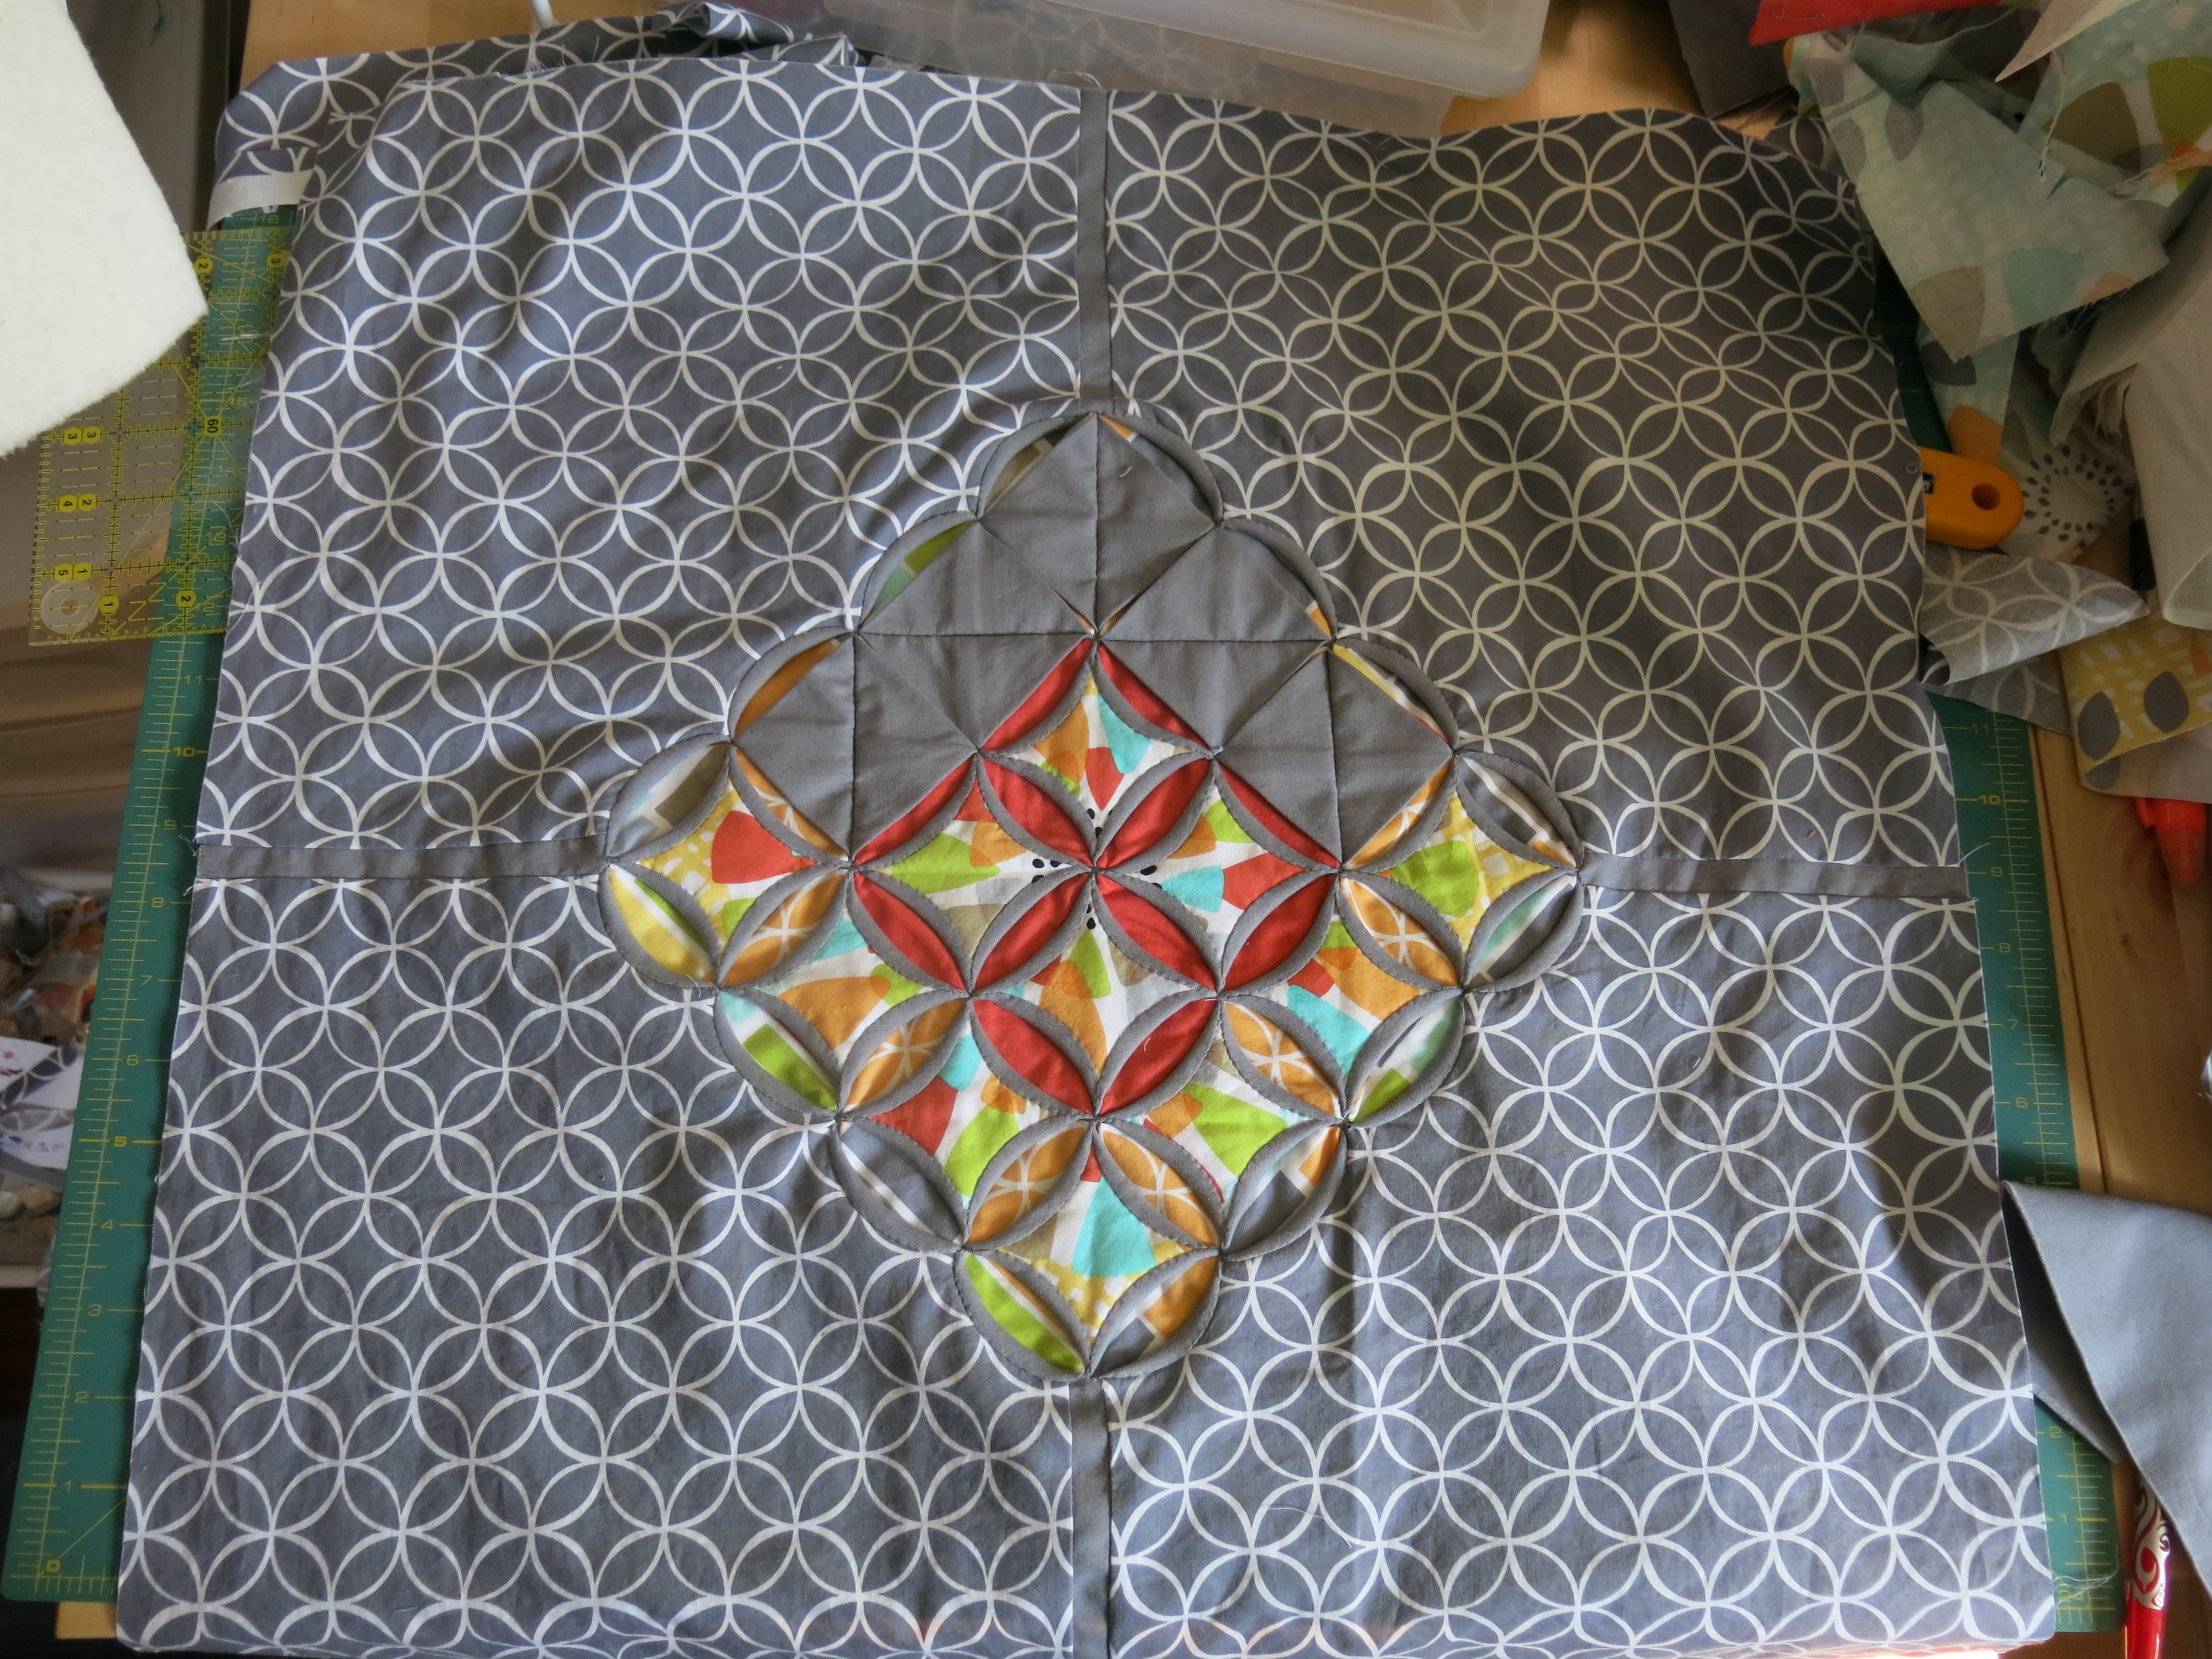
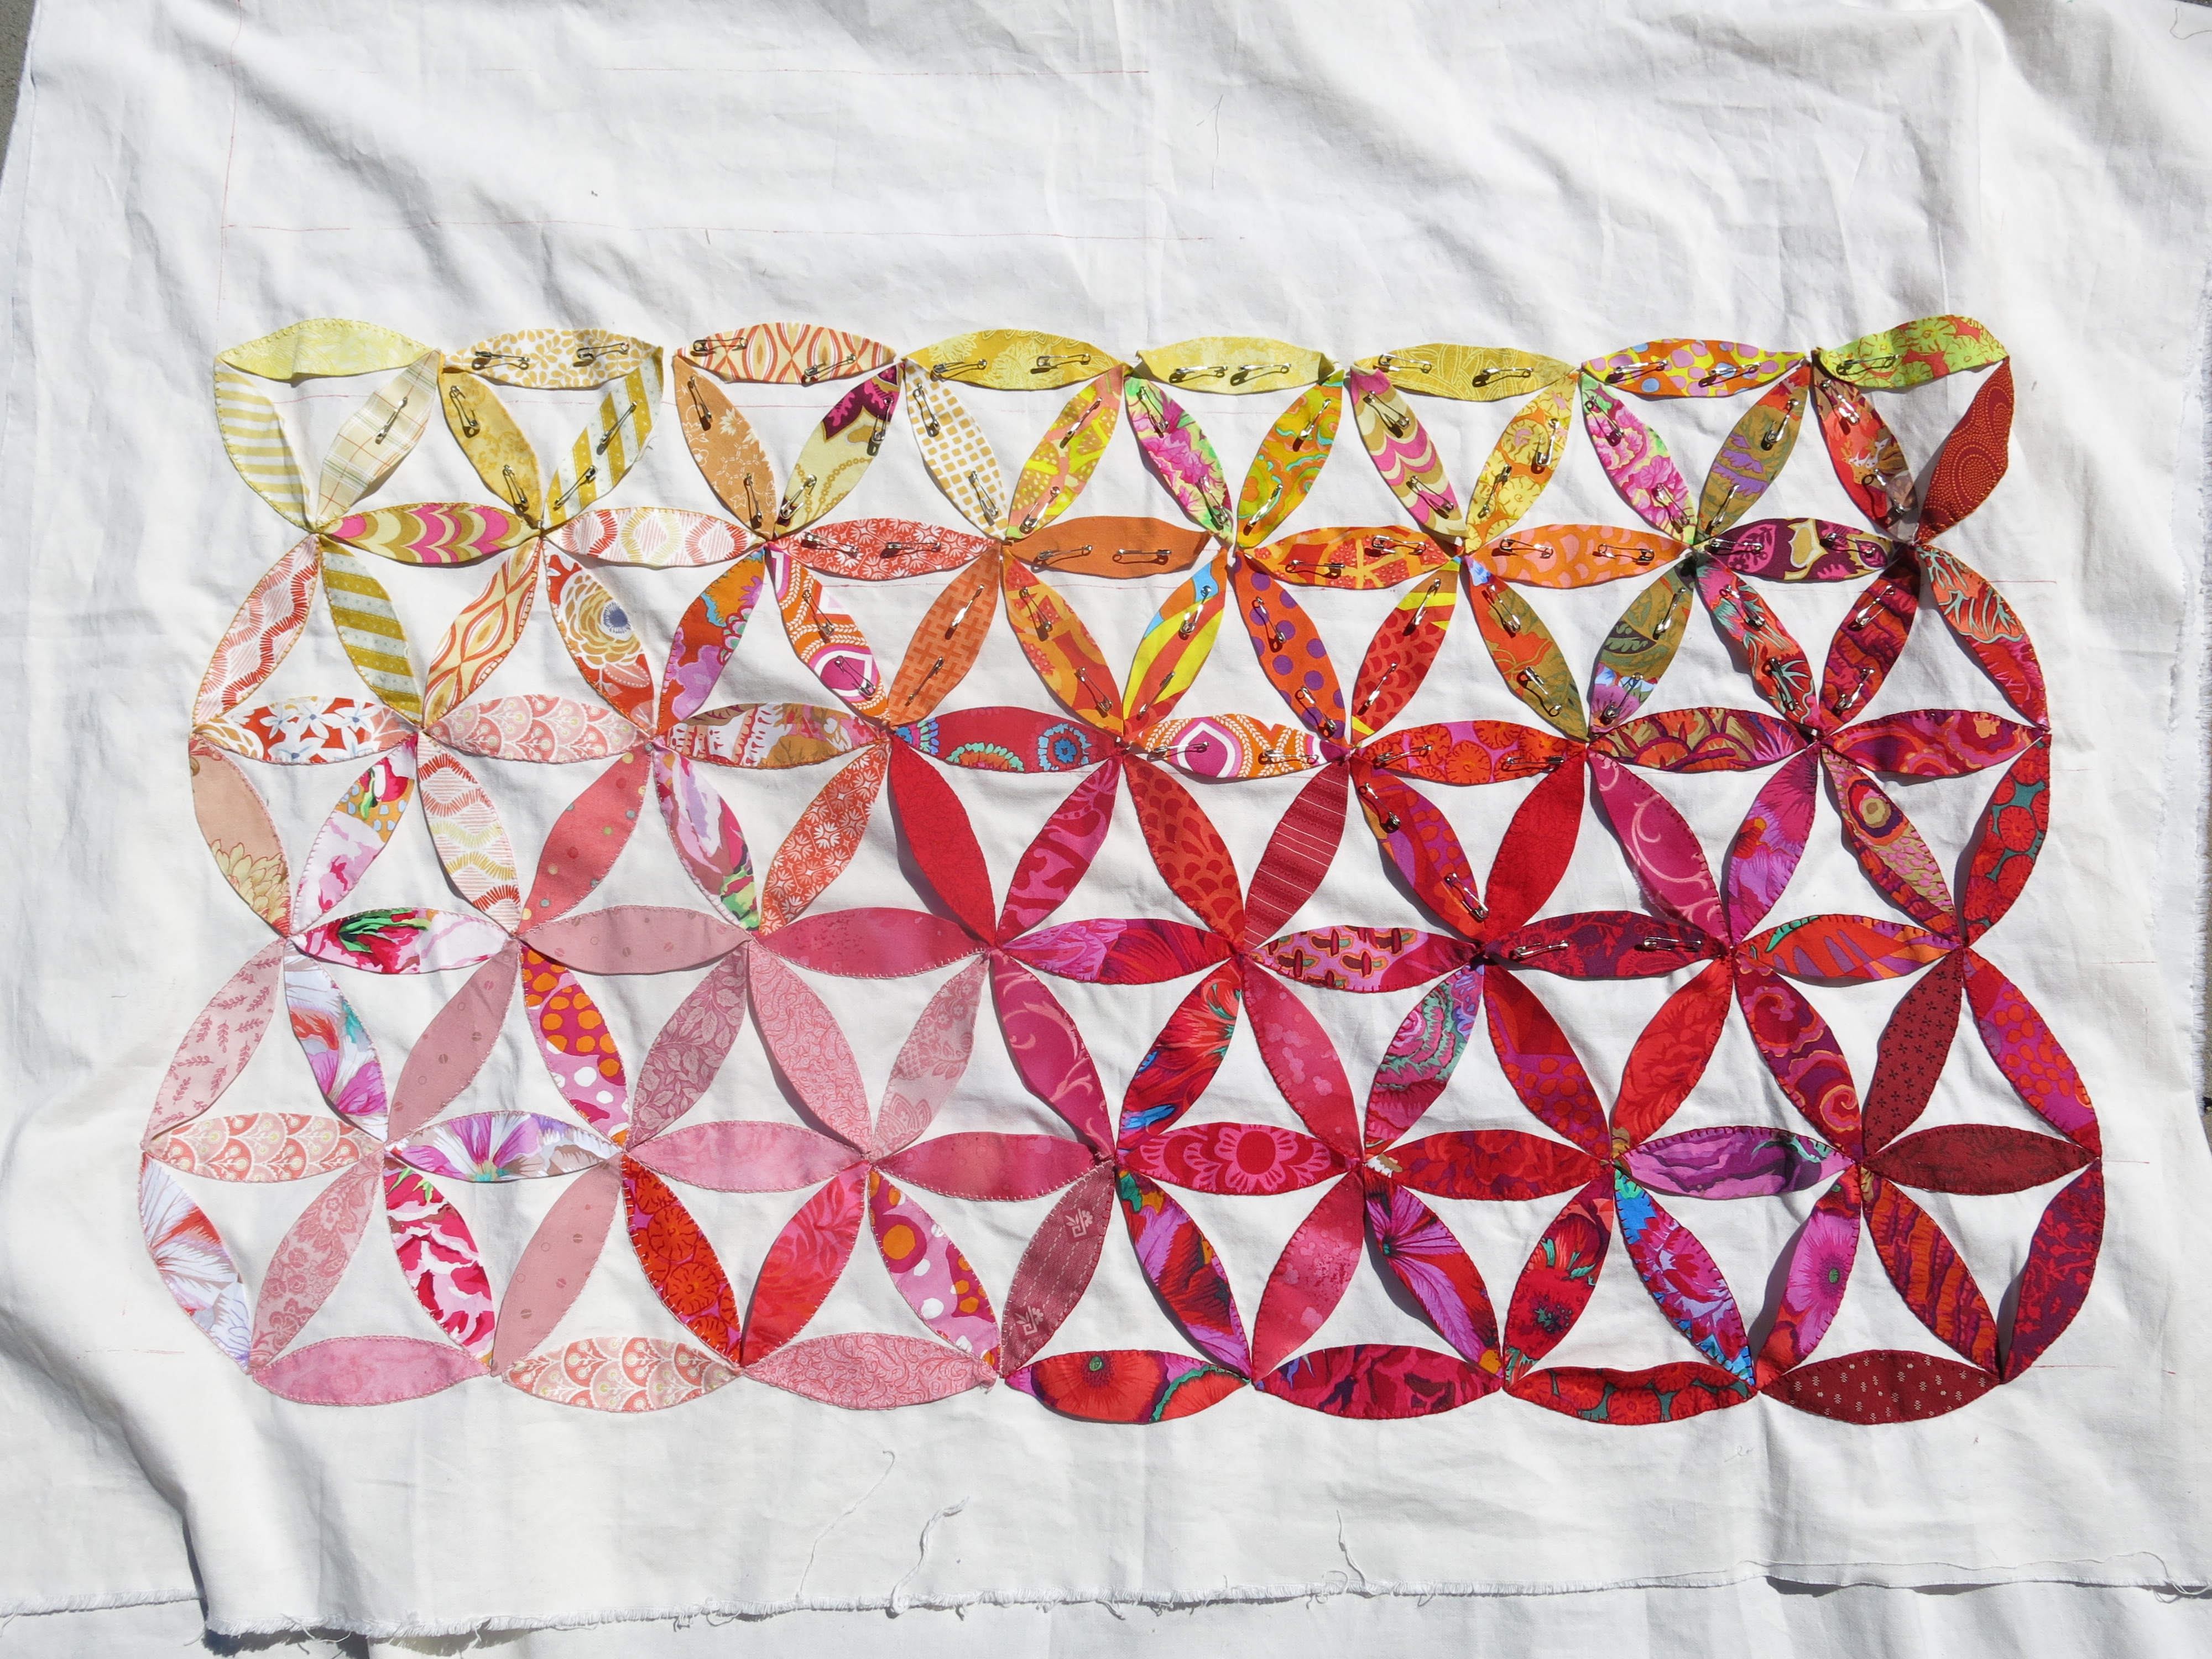
I have one process picture:

IMG_3180

I made a lot of little circles in different shades of grey for the smoke from the eruption. I sequentially sewn in a circle, then cut out space for the next circle.
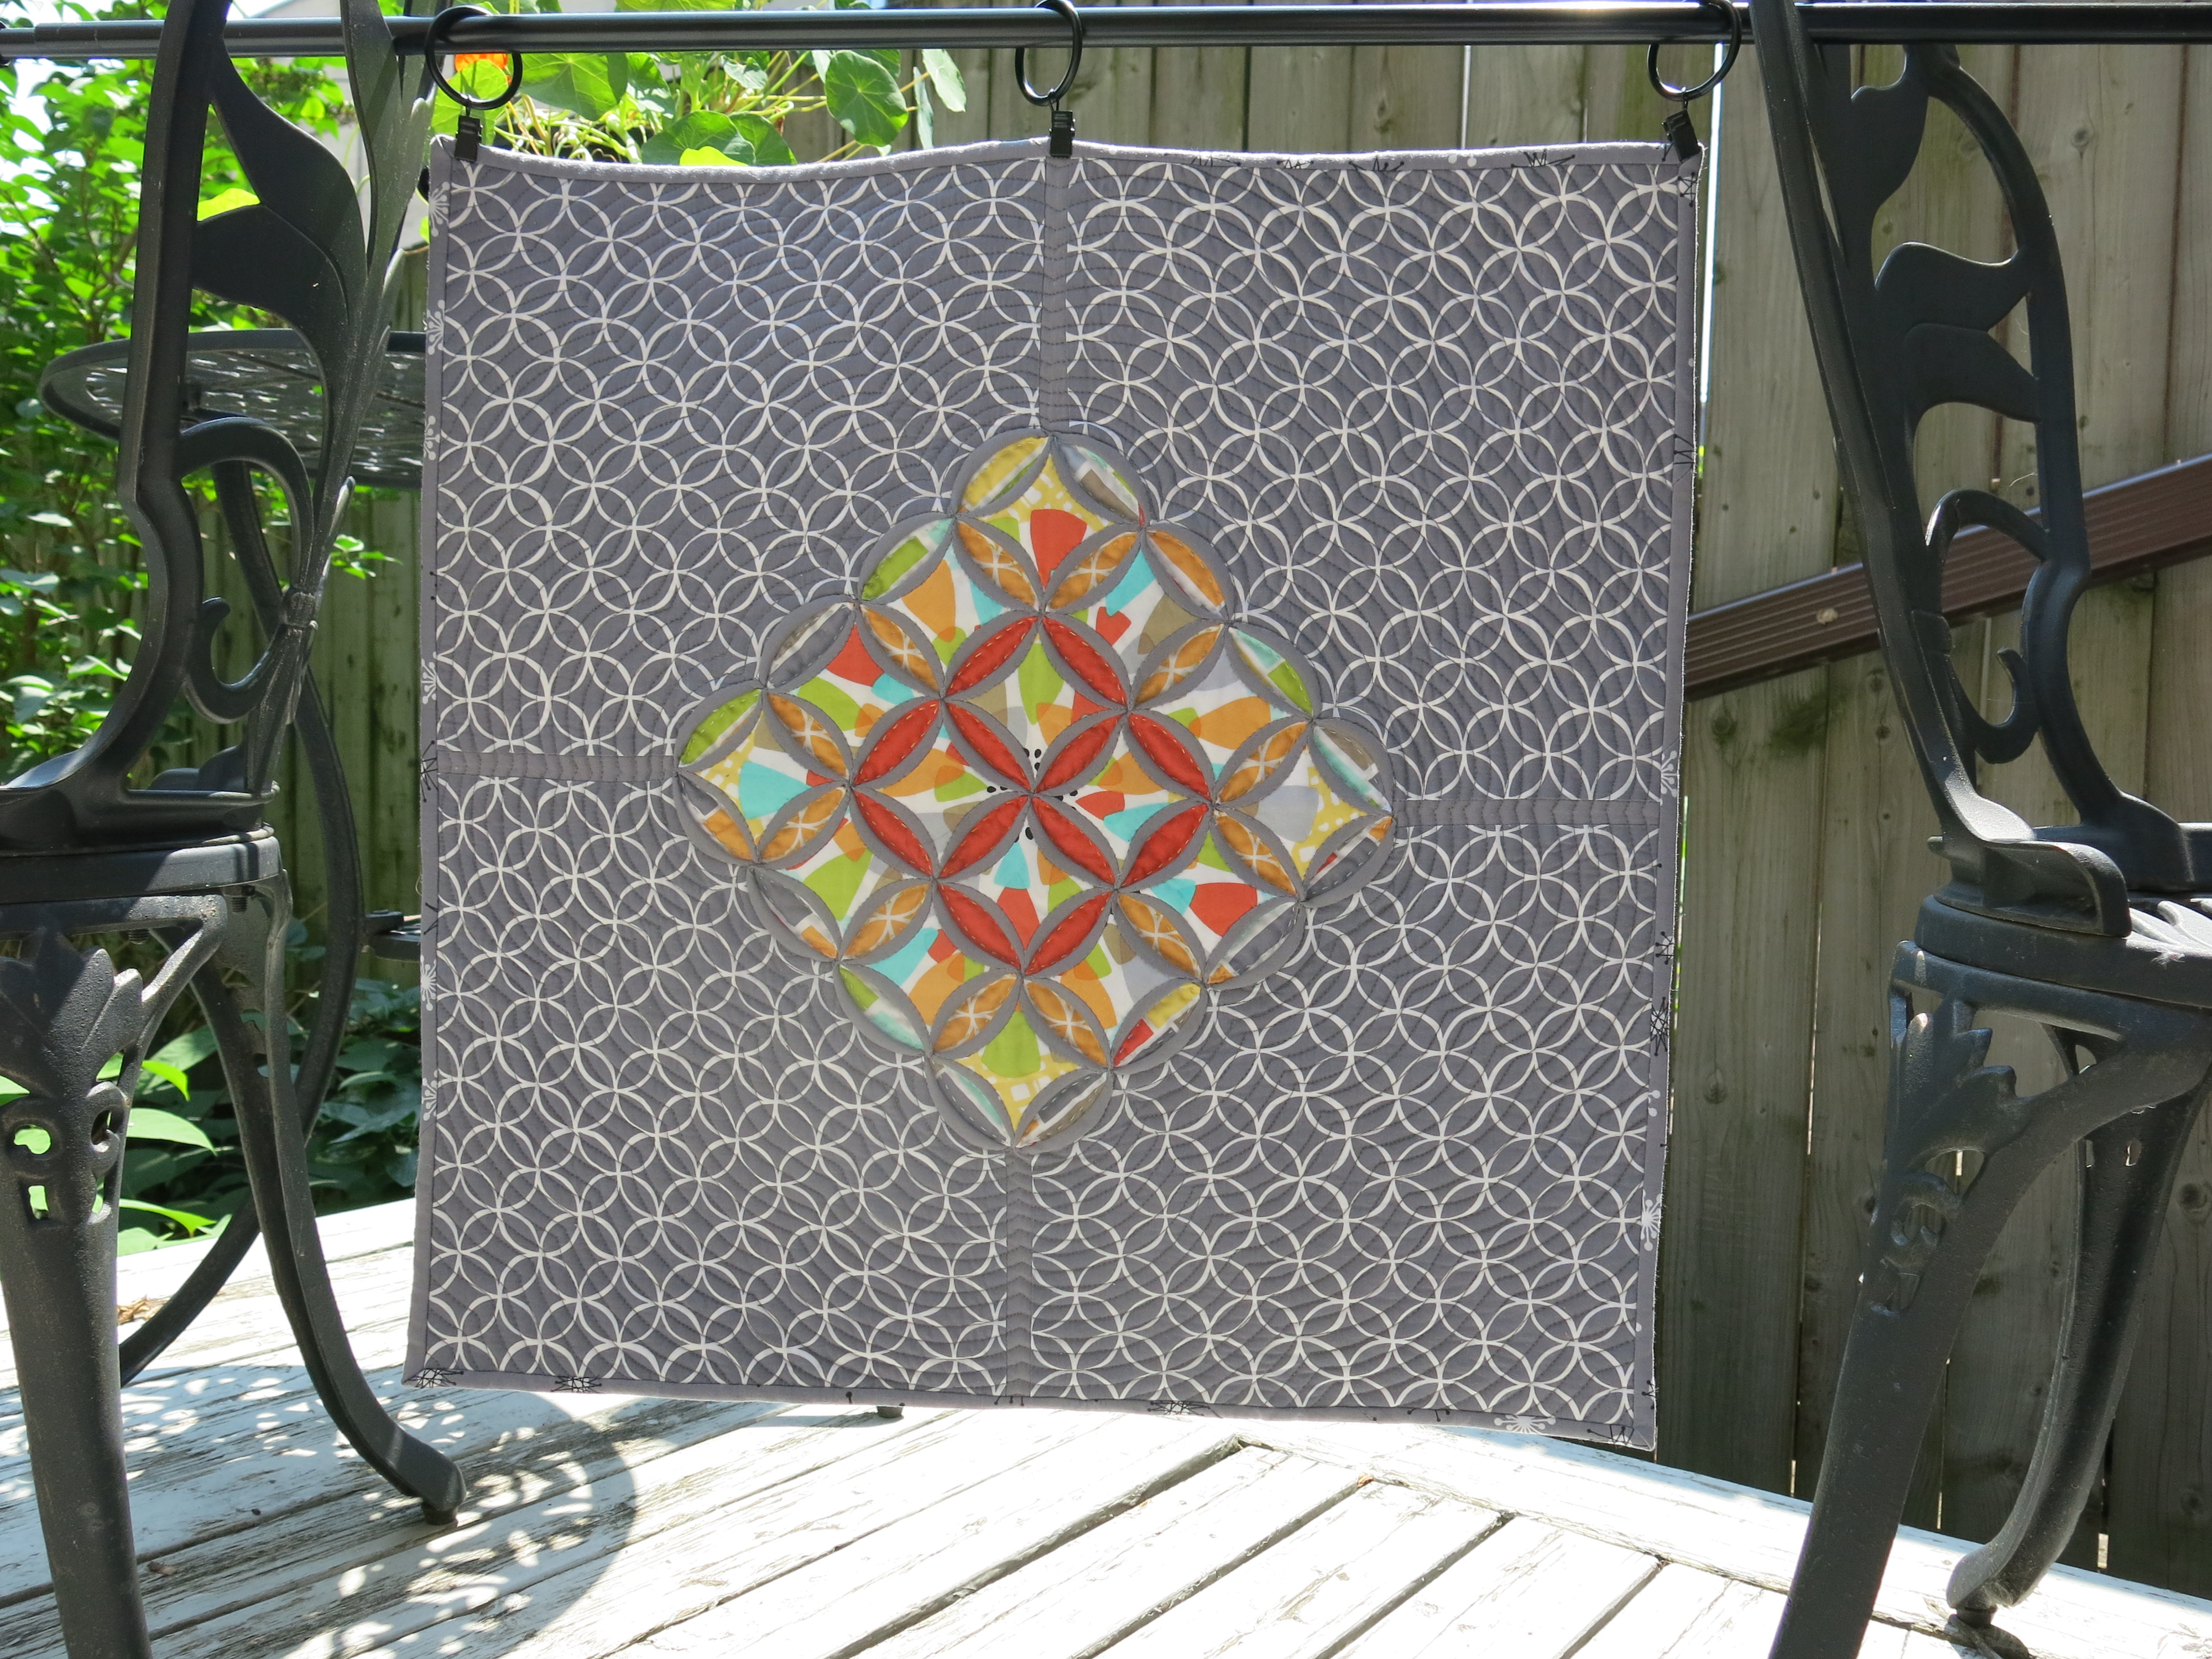
The final quilt:

IMG_3189IMG_3191

I cut out the bottom of the mountain to look like people to be like the cavities they found left behind in the ash. I made it so these ‘cavities’ are looming over the unsuspecting city below. I have to say – cutting out those people and sewing along the edge was a pain. I started regretting it about a quarter of the way in. I am happy with the result though, now that it’s done!

I used quilting to emphasize the turbulence of the eruption as well as lines straight down the mountain to represent the pyroclastic surges thought to be responsible for most of the deaths.

The back is a print of boats to show the people who tried to help the inhabitants of Pompeii.

IMG_3195

I didn’t win, but I had a lot of fun trying to come up with ideas and making the quilt! I’m definitely up for the next challenge!

-Emily

Expecting a new quiltuplet!

We’re expecting a new quiltuplet in July! Of course it needs a quilt! Just in time for my baby shower, the remaining quiltuplets made a beautiful ‘I Spy’ quilt as a gift.

IMG_3202 IMG_3203

I am amazed at the collection of different fabrics they were able to pull together. Animals, food, cartoon characters… there seems to be one of everything!

The back is cozy flannel owl print with a personalized label.

IMG_3204 IMG_3206

And it looks great in the nursery!

IMG_3208

A cotton version of the owl print made an appearance in a Christmas gift from Michele.

IMG_3213

I know there will be many happy memories with this quilt! Thank you Quiltuplets!

-Emily

Spring quilting day!

It’s been awhile since the last post! I think we’ve all been busy, so it was nice to finally sit down together and get some sewing done. We all have our own WIPs, although some of us have been more productive than others (but we’ll see the results soon in later posts!). For my part, I’ve barely sewn a stitch in several months and I have a million projects on the go. That’s a bit of an exaggeration, but I do tend to start many projects and take awhile to finish.

Here is a project I started about 6 months ago when I decided to design a pattern with curves:

IMG_3126

I started with two layer cakes of Kate Spain’s Sunnyside fabric. I’ve made some progress on putting it together, but I’m learning very quickly that curves can be tedious!

There are many WIPs on the go, so I’ll do a quick tour:

Natalie was paper piecing a warm batik design.

IMG_3154

Michèle was working on a geometric design for an art quilt to submit for to an upcoming quilt show. The story behind this one is quite interesting, so I look forward to seeing it complete in an upcoming post!

IMG_3157

She was also making cupcakes for a special birthday we celebrated later that day.IMG_3158

Suzanne was working on a vibrant quilt made with Art Gallery fabrics.IMG_3153

Lise and Suzanne have also given their own twist on the same pattern.

IMG_3155 IMG_3161

I love seeing how different two quilts turn out when done using different colour schemes. I can’t wait to see how they turn out!

Lise was busy preparing her finished quilts for entry into the quilt show.

IMG_3152

She is now the most productive member of our little group! Each of these quilts will be featured in later posts, along with the other quilts she is working on.

IMG_3159 IMG_3160

She used to help everyone else on their quilts, but it hasn’t really been until the last year that she started to make her own and now she is probably responsible for half of our total output!

We had a great afternoon of chatting, sewing, cutting fabric, snacking and baking. In the end, the only finished project was the cupcakes.

IMG_3164

-Emily


Even more baby time!

I posted a few months ago about two babies quilts that I was working on, and a way to speed up the time it takes to set up the long-arm machine. Unfortunately, the binding still takes just as long so it’s taken awhile to get the projects finished. The quilts are finally complete, photographed and passed along to two very special babies!

Here are the front and back of the first quilt:

BabyQuilt1BabyQuilt1Back


I used Bottom Line thread in light blue for both quilts, following a pantograph pattern of swirls for the quilting. I thought this would soften the straight edges of the geometric patchwork patterns.

BabyQuilt1DetailBabyQuilt1Chair

Here are the front and back of the second quilt:

BabyQuilt2 BabyQuilt2Back

I bound both quilts with a striped fabric – I really like the effect around the edges!BabyQuiltChair2

Details of the front and back show the swirly quilting:

BabyQuilt2Detail BabyQuilt2BackDetail

I love making baby quilts! It’s a great opportunity to use bright colours and experiment with new ideas with a smaller quilt size!


Happy quilting!
Emily


Michael Miller Challenge

The Modern Quilt Guild organized a quilt challenge with Michael Miller fabrics. You are allowed to make anything as long as it’s quilted and made with other Michael Miller fabrics or solids. I received six fat eighths for the challenge, and bought some coordinating prints to add.

Starting fabrics

Starting fabrics

The smaller pieces in the photo are the challenge pieces. The pattern of the orange and grey fabrics remind me of the cathedral window pattern, so I thought I would start by making those squares and build on it from there.

I made a 4 x 4 piece of the folded squares stitched together. I fussy cut the fabric to make  floral pattern expanding from the centre. I put a white fabric behind each coloured piece because the grey showed through a bit.

Added some extra fabric

Added some extra fabric

I ended out trimming the corners partly because I thought it would look better in a diamond orientation and partly because I was tired of hand stitching the edges. I was excited to see what it would look like with extra fabric so I sewed the grey print to set the cathedral window pattern in the centre before I finished the hand stitching.

There are two layers of cotton batting. To account for the extra thickness in the middle, I cut out the centre of a first layer of batting.

Detail of adding the batting to even out thickness.

Detail of adding the batting to even out thickness.

I used 50 wt grey Aurifil thread to quilt the outline of the centre shape repeating outwards. I hand quilted in the backgrounds of the cathedral windows with orange, yellow, green and blue perle cotton thread. The binding was made with solid grey and the grey print provided for the challenge. The finished size is about 22 x 22 inches.

Finished product

Finished product

Detail of quilting

Detail of quilting

My original plan included sewing circles into outside piece of fabric or into a border. After I changed the design,  I didn’t want to waste the circular pieces so I appliqued them to the back.

The back embellished with applique circles.

The back embellished with applique circles.


Overall, the challenge was a lot of fun! The cathedral window pattern was very time consuming, so I can’t imagine making a bed-sized quilt. It was a mad rush trying to finish it this week, but I’m happy with the finished product.

Wish me luck!
Emily

So many WIPs, so little time!

Looking at our post history, I have become painfully aware that the last post was over a month ago! I’ve had so many projects on the go, that I haven’t had anything significant to write about. The other Quiltuplets also have stories they are eager to share, including my sister who has two posts planned.  She left for the Great Northern Canoe Expedition at the end of June, so her posts will be available in August when she gets back.

A quick aside – Stéphanie has embarked on an incredible canoe adventure. She and five others are in the Northwest Territories and are canoeing from Yellowknife to Baker Lake in Nunavut, via the Thelon river (or Thelong river as Stéphanie calls it). We receive daily updates about their location through a SPOT device, so I have made a map and have been following the progress on their 50+ day journey. I am sure she will have great stories to tell, and maybe even inspiration for some quilts!

So, what have I been up to? As a member of the Modern Quilt Guild, I have been working on the Michael Miller Challenge.

Michael Miller Challenge fabrics

Michael Miller Challenge fabrics

The idea is to make anything quilted, using these fabrics and any other Michael Miller or solid fabric. I am almost finished my entry, and I will post photos at the end of the week!

I have also been working diligently to build my stash (not that any help is needed!). I like to wash all my fabric as it comes in so that anything I pull out is ready to go. I know a lot of people don’t pre-wash, but I would hate for anything to shrink after washing. Most of the quilts I make are meant to be loved and used a lot, which means they will also need a lot of washing.

To be ironed!

To be ironed!

I took advantage of many online quilt sales this summer. The pile only looks so big because all the fabric is bunched up and crumpled (or so I tell my husband).

I have a big pile of newly started projects, but I’ve been fairly good at keeping them organized.

Current projects

Current projects

Clear plastic boxes keep projects together and make it easy to see what’s inside. We’ll be doing a post later about our sewing spaces, so I’ll share more then.

The other main thing I’ve been doing is finishing up old projects (to clear the way for new ones!). Unfortunately, this means a lot of seam ripping and picking out quilting.

Stitches to be picked out

Stitches to be picked out

Some of this work is very tedious – like the above photo. I’d started quilting a certain way, and it looked pretty bad. Now that we have the longarm machine I have a reason to pick it all out so I can redo it properly. Most of the things I need to redo are because I was quilting while tired or impatient and didn’t pin properly or just let standards slip. A stitch in time really does save nine!

– Emily

Lesson #2: Efficiency in quilting

I had two baby quilt tops that had been sitting in my sewing room for almost year, waiting to be quilted. I had limited time on the long arm machine this weekend so my mom suggested loading both on the machine frame to speed up the process. I was skeptical at first, but I thought I’d give a try. Here’s what I did: I sewed the backings together. They each had about six inches to play with on the length so I wasn’t too worried about losing some fabric to the seam. I basted the two tops together so I could separate them on the frame.

Double quilt top

I loaded the backing and double-top onto the frame. I think my math was non-functional when I made the first backing, so it was the same width as the quilt top. To make sure these lined up, I loaded everything so that this quilt would be done first and had to be extra careful of the edges.

Backing loaded onto the frame

The bungee clips got in the way a lot, so I will probably trim these edges about an inch so that it looks nice. I proceeded to quilt as normal until I got to the end. At this point, I took out the basting and rolled the second quilt back out of the way and finished quilting the first top.

Taking out the basting

From here, it was easy since all I had to do was pin the second quilt and continue the machine quilting as if it was the only one on the frame.

Starting the second top

A few hours after loading both quilt, I was finished and had one mega-baby quilt!

Mega-quilt   Mega-quilt back

All that’s left to do now is to trim the excess fabric and batting and bind the edges. I do think it was quite a bit faster, and it’s nice to set up the machine once and keep working through. I promised to credit my mom (Michèle) – so thanks for the time-saving idea, Mom! I will definitely be doing this again!

Emily

p.s. These quilts are numbers 19 and 20 tops completed on the long arm machine since we got it last summer!

Finished quilts!

Joseph’s Coat: update no. 1

I’ve started sewing all the little pieces and am working my way through the orange fabrics now. Most of the pieces are stitched on one side to hold them in place as I work on the section. I was originally using applique pins to keep the pieces in the right position until I get to them, but the pins kept falling out or poking me so I’ve switched to basting safety pins.   Here is the progress:

The progress so far

And a bit closer to see some of the thread:

Joseph's coat detail (update 1)

I think I’ll have the top done by the end of the summer (fingers crossed), so I’ll keep you all posted!
Emily

Spring Fling

I finally finished this quilt! I found a pink floral print on a green background that I loved and picked plainer prints to go along with it. The floral print is mainly used for the border, while the plainer fabrics make up the busy centre.

I first starting piecing it a few years ago using the ‘Cheap Trick’ pattern from Miss Rosie’s Quilt Co. (altered it slightly to increase the size). The quilt top sat for a few years awaiting completion, so  when we got the longarm machine this was the first project I attempted.

Whole quilt

I called it Spring Fling because of the bright and cheerful colours, and even got around to embroidering a label.

Quilt tag detail

I used a pantograph for the quilting pattern to create a design of flowers and loops. A closer view of the pattern:

IMG_1513  IMG_1546


I used a bright pink fabric from the patchwork as the binding. There is something satisfying about a neatly folded, finished quilt!

IMG_1539

– Emily

Edit: I found the picture I had of the quilting in progress! Just over one row left to go!

On the longarm


Baby quilt for a friend

I have finally finished (and taken pictures of) a baby quilt for a friend. I’m working on improving my quilt photography, so please forgive some of the images – I don’t quite have the hang of perfecting the colours and lighting yet.

I started off with a simple square pattern. The quilting is more visible in the second picture.

Squares side Squares side (flat)


I wanted to do something fun for the back, and used this post (by Better off thread) as inspiration. I’ve wanted to try a lone star pattern for a long time and thought I’d use this opportunity to attempt it on a smaller scale.

Lone Star Back Hanging


The image below is a better representation of the colour.

Lone Star Back


This is the best picture showing the actuals colours of the fabric. I managed to make use of the last remaining day light, which seemed to help.

Folded Up

I joke that it’s the ‘mullet quilt’: business in the front and party in the back! It is finished off with quilting along the star pattern and a hand-embroidered label. Two sided quilts are so much fun!

– Emily